3rd party identity provider applications
This use case example is provided for your benefit, but we don't take responsibility for the screenshots, content, and functionality of these 3rd party applications.
Prerequisites:
- You have a DUO account with the necessary permissions to Protect an Application.
Set up the SAML application in DUO
- Go to Applications > Protect an application.
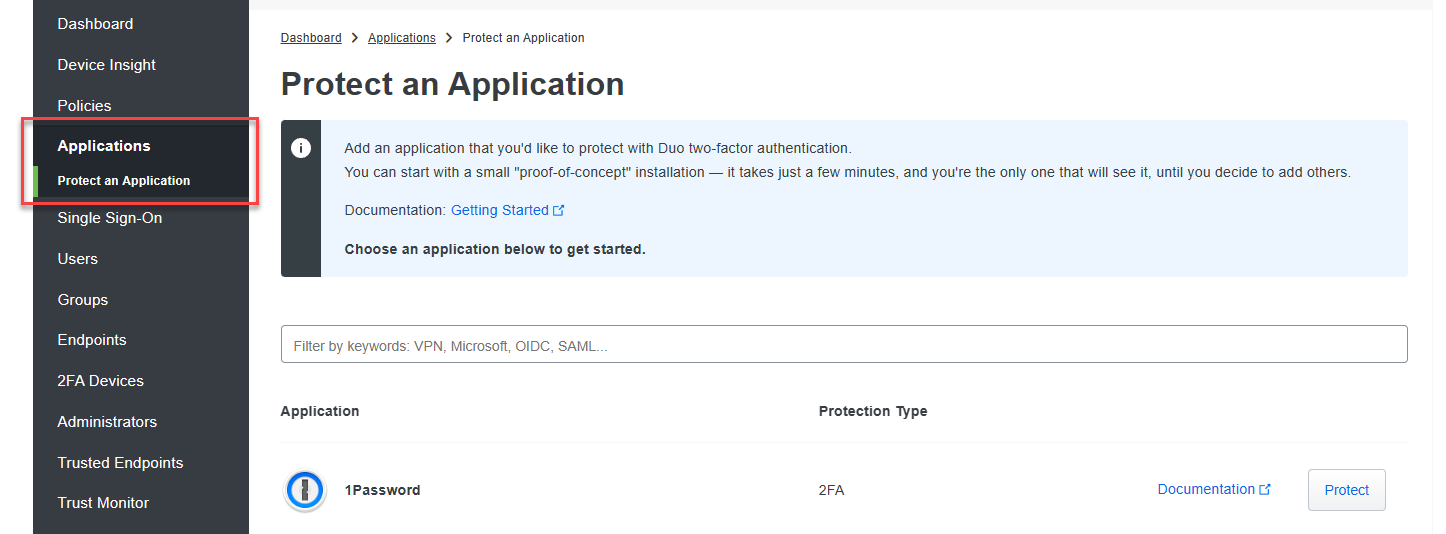
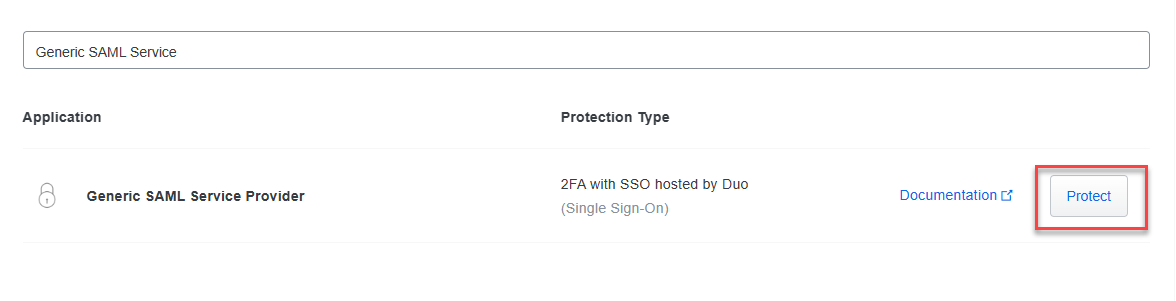
- Search for Generic SAML Service Provider and click Protect.
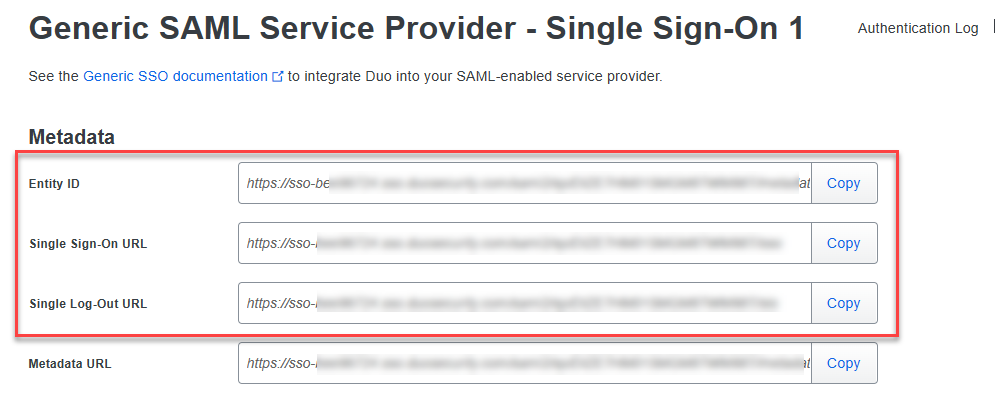
- Under the Metadatasection, copy the following values and paste them into the fields in the DEX SAML settings page:
- Copy the Entity ID and paste it into the Entity/Issuer ID field in DEX.
- Copy the Single Sign-On URL and paste it into the IdP Login URL field in DEX.
- Copy the Single Log-Out URL and paste it into the IdP Logout URL field in DEX.
- Under the Downloads section, click Download certificate and upload the certificate into the IdP Signing Certificate field in DEX. Note that DUO must be configured to sign the SAML assertion.
.png)
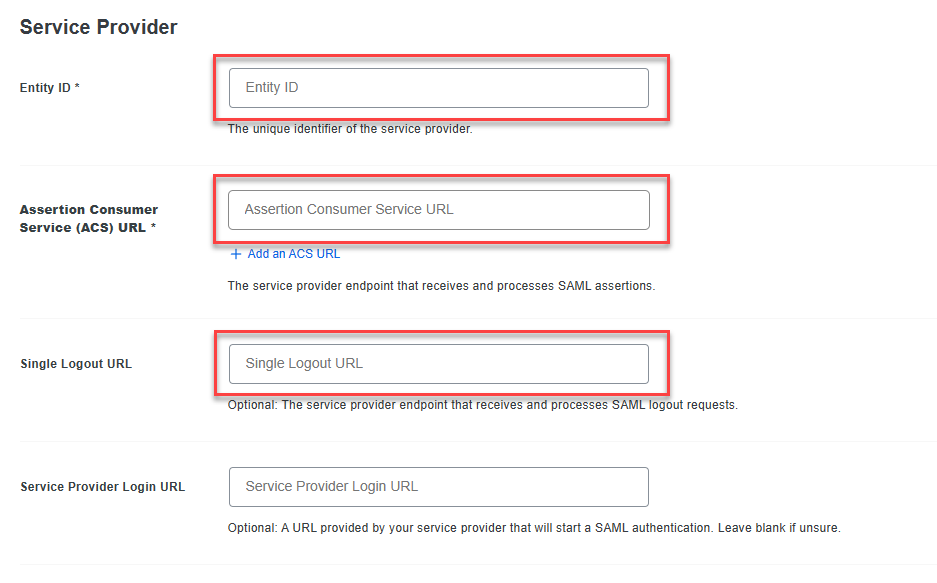
- Copy the following values from the DEX SAML settings page and paste them into the fields in DUO under the Service Provider section:
- Copy the Relying Party Trust Identifier from DEX and paste it into the Entity ID field in DUO.
- Copy the Endpoint/Assertion Login URL from DEX and paste it into the Assertion Consumer Service (ACS) URL field in DUO.
- Copy the Assertion Logout URL from DEX and paste it into the Single Logout URL field in DUO.
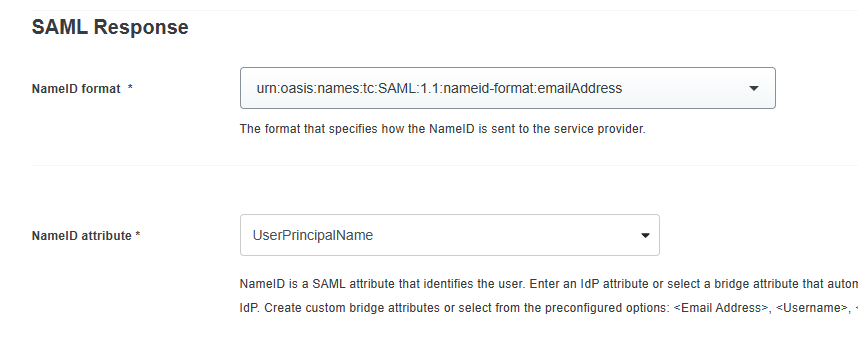
- Under the SAML Response section:
- Set the NameID format to urn:oasis:names:tc:SAML:1.1:nameid-format:emailAddress.
- In the NameID attribute field, enter UserPrincipalName.
- In the Map attributes, add the following attributes.
.png)
- If you use ControlUp for VDI & DaaS and you want to use LDAP for authorization to the VDI & DaaS web UI (or you are using a Real-Time DX version lower than 9.0), add the following attributes. This step is not required if you want to use a ControlUp account for authorization to the VDI & DaaS web UI. Learn more about accessing the VDI & DaaS web UI for versions 9.0 and higher and versions lower than 9.0.

- If you use ControlUp for VDI & DaaS and you want to use LDAP for authorization to the VDI & DaaS web UI (or you are using a Real-Time DX version lower than 9.0), add the following attributes. This step is not required if you want to use a ControlUp account for authorization to the VDI & DaaS web UI. Learn more about accessing the VDI & DaaS web UI for versions 9.0 and higher and versions lower than 9.0.
- Optionally, if you want to use IdP-initiated SSO or assign roles to ControlUp users based on IdP user groups, you must set up additional attributes. See the attribute table for details.
- In the DEX SAML settings page, set the Default Role for DEX user accounts automatically provisioned when a new user signs in with SAML.
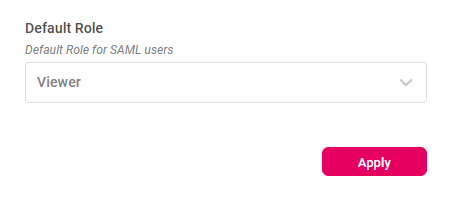
- Scroll to the bottom of the page and click Save.
After performing the steps above, you can now sign in to ControlUp with SAML using the SAML URL. You can find the SAML URL at the top of your DEX SAML settings page.