The ControlUp Monitor Service uses two types of synchronized user credentials:
Monitor credentials. Synchronized between monitors only. Required to deploy agents to managed hosts and authenticate towards the managed machines. You can use monitor credentials for AD connections (optional from Hybrid Cloud version 9.0, required for on-prem and Hybrid Cloud versions lower than 9.0), proxy, and SMTP settings.
Shared credentials. Same properties as monitor credentials, but also synchronized with Real-Time Console user passwords. You can use shared credentials to connect to data sources and in Script-based actions (SBAs).
Revoked Permissions
Note that if you revoke permissions for a shared credential, any SBA utilizing that credential fails when executed from the Real-Time DX Console, but executes successfully when run from the VDI App UI or as a Trigger follow-up action.
You can use the Real-Time DX Console to set shared credentials to use with your configured Hypervisor, EUC environment, and Netscaler connections. This enables streamlined management of credentials and a quicker onboarding process for new ControlUp users which doesn't require them to know the service usernames and passwords.
To manage credentials with PowerShell commands, see Manage CUCredentials.
Create Shared Credentials
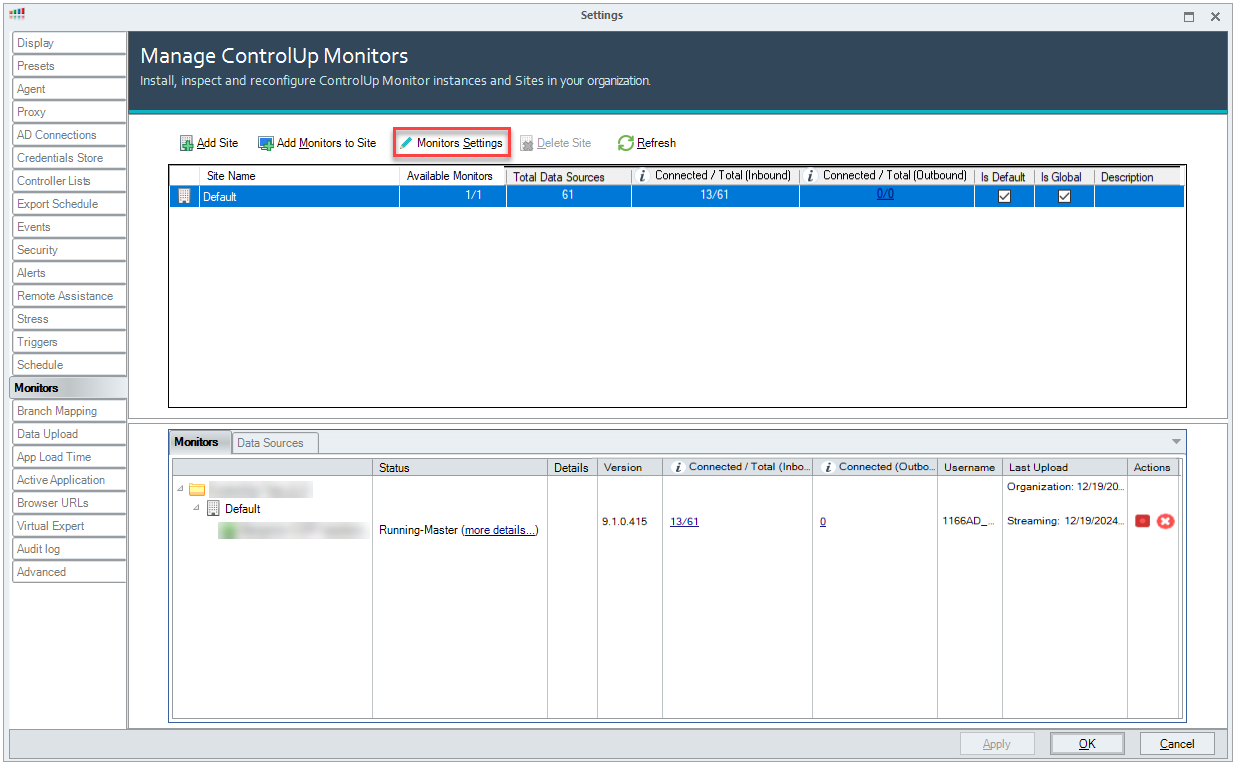
Click the Settings tab in the Home ribbon and select Monitors.

In the Manage ControlUp Monitors window, click Monitors Settings.
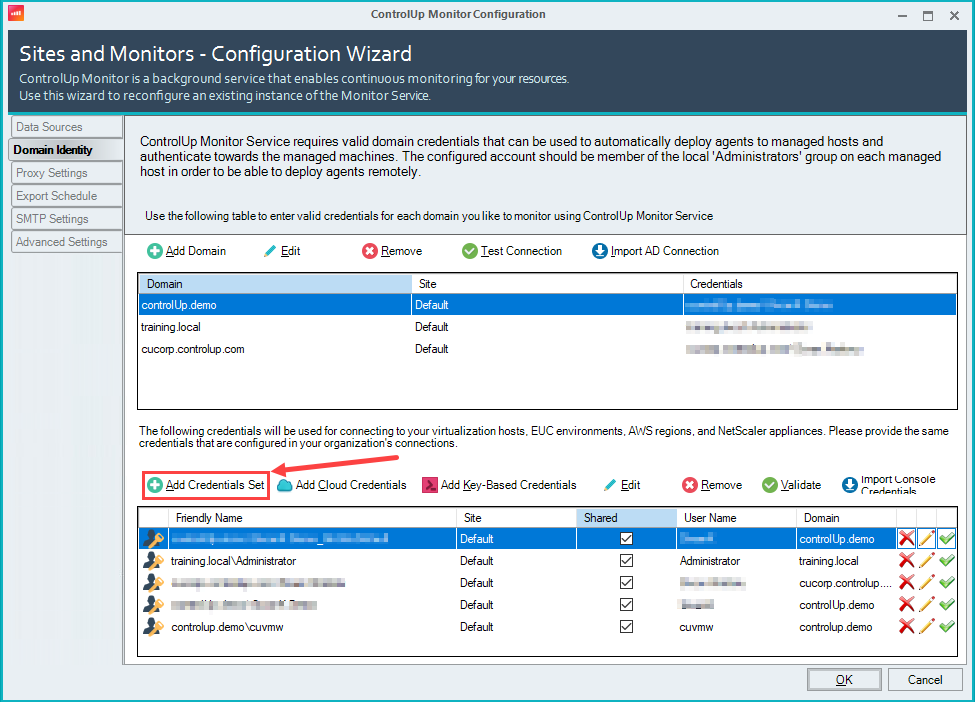
Click Add Credentials Set.
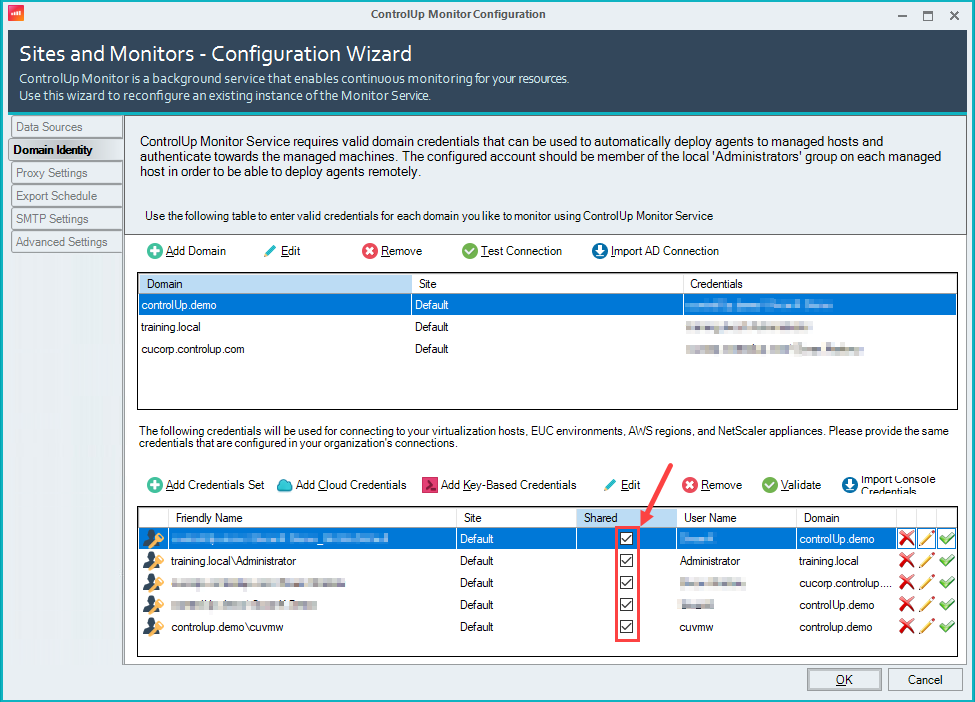
In the Add New Credentials popup, enter the User, Password, select the Domain and Friendly Name of the new service account.
From version 9.1: If you want to change the site assigned to this user, select a different site from the Site dropdown.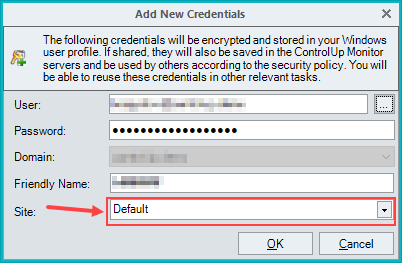
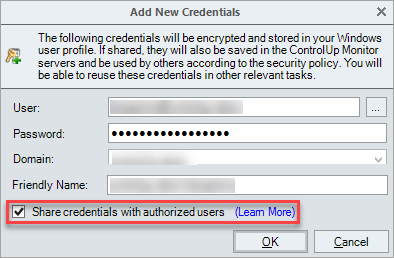
For versions lower than 9.1: If you want to configure this user as a shared user, check the Share credentials with authorized users checkbox.
The user is now added to the credentials list and the Shared checkbox indicates that the user is shared user.

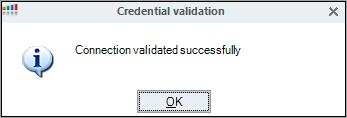
You can validate the user credentials to check if the entered credentials are valid. Mark the user that you created and click Validate. If your user credentials are validated successfully, you should see this popup message:
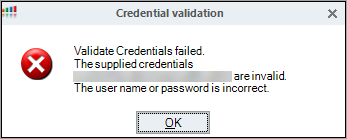
If the credentials are not successfully validated, this popup appears:
If the credentials you want to share are already configured, check the box under the Shared column to share it with your users.
Grant Permission for Organizational Users to use Shared Credentials
Organizational Users can't use shared credentials. You must create a Security Role to grant permission to use shared credentials. Once you've saved your credentials as shared credentials, on the bottom of your console click the Security Policy Pane and open the permissions tree for Perform organization-wide actions.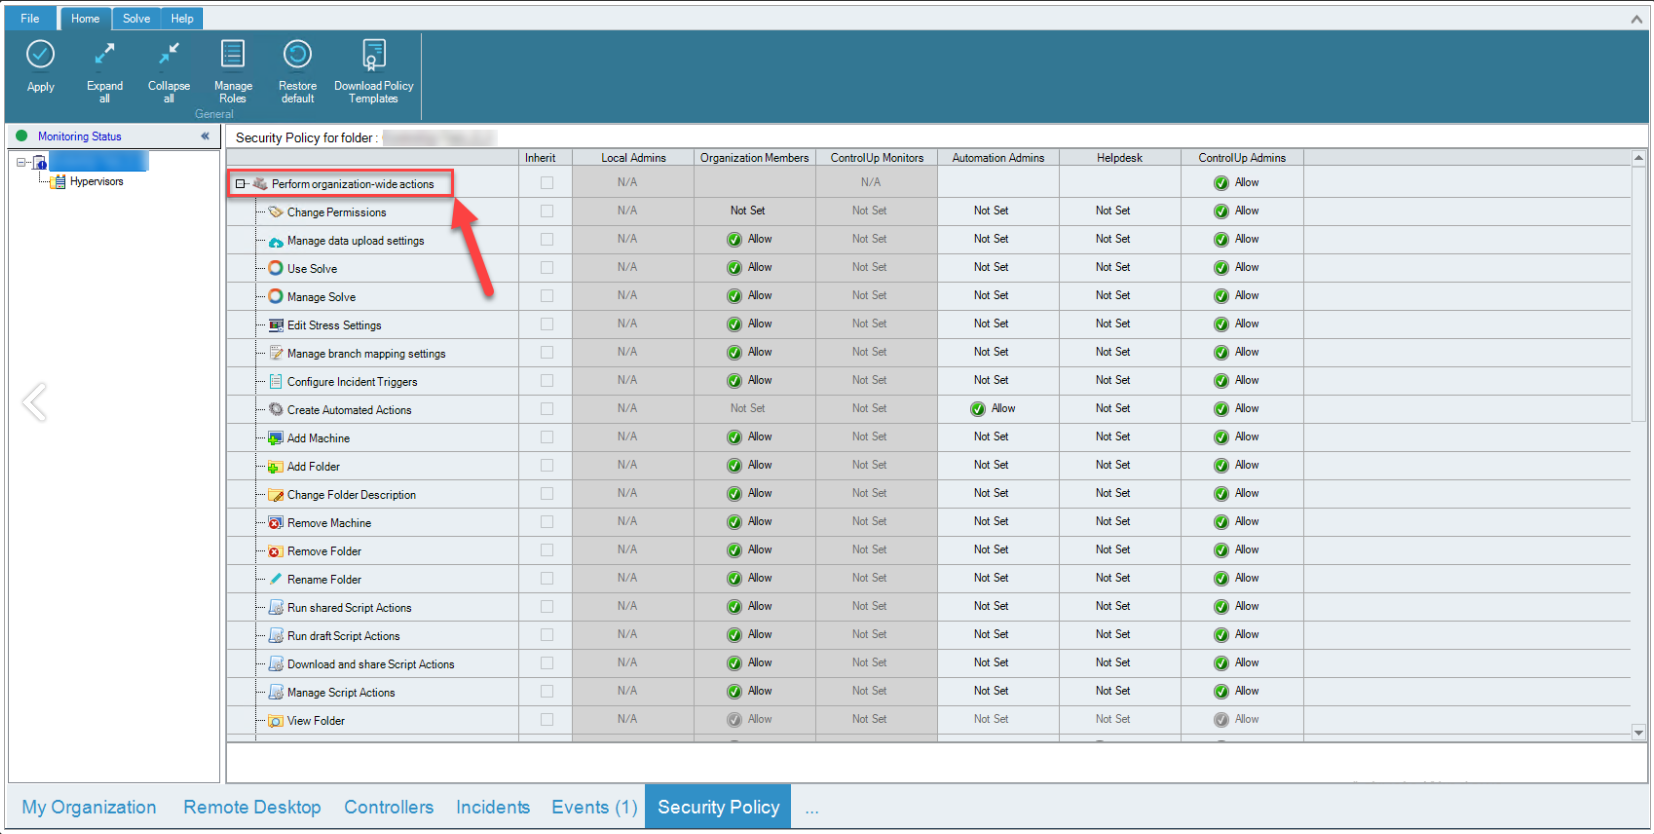
Scroll down to the bottom of the organization-wide permissions tree to Shared Credentials. Choose the Security Role you want to grant permissions to, and set that permission to Allow.
From version 9.1, you can assign specific credentials to specific Security Roles.
Under Shared Credentials, open Credentials. Choose the credentials you want to assign to a specific Security Role, and set that permission to Allow.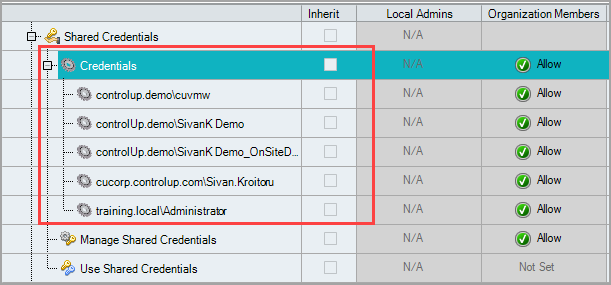
After you create a shared credential and allow users to use it, it will become available to set in the connection settings of your Hypervisor, EUC, Netscaler, and Cloud Connections. Note that if any of the shared credentials are set to Deny for a specific Security Role of a user, the shared credentials will appear in the Credentials dropdown, but the user won't be able to select them.
Notes on Shared Credentials:
The shared credentials metadata (including the friendly name, username, and domain name) is stored in your organization's public configuration store.
The shared password is stored in the private configuration store (located in the %AppData% folder of the monitor network service or the console user profile) encrypted with DPAPI encryption, and never leaves the customer's premises.