You can integrate ServiceNow with an alert policy to automatically create an incident on your ServiceNow tenant if there is an issue with a Scout.
After you create the ServiceNow integration, you can select the integration as the notification method when you create an alert policy. For details, view Alert Policies.
Add a ServiceNow Integration
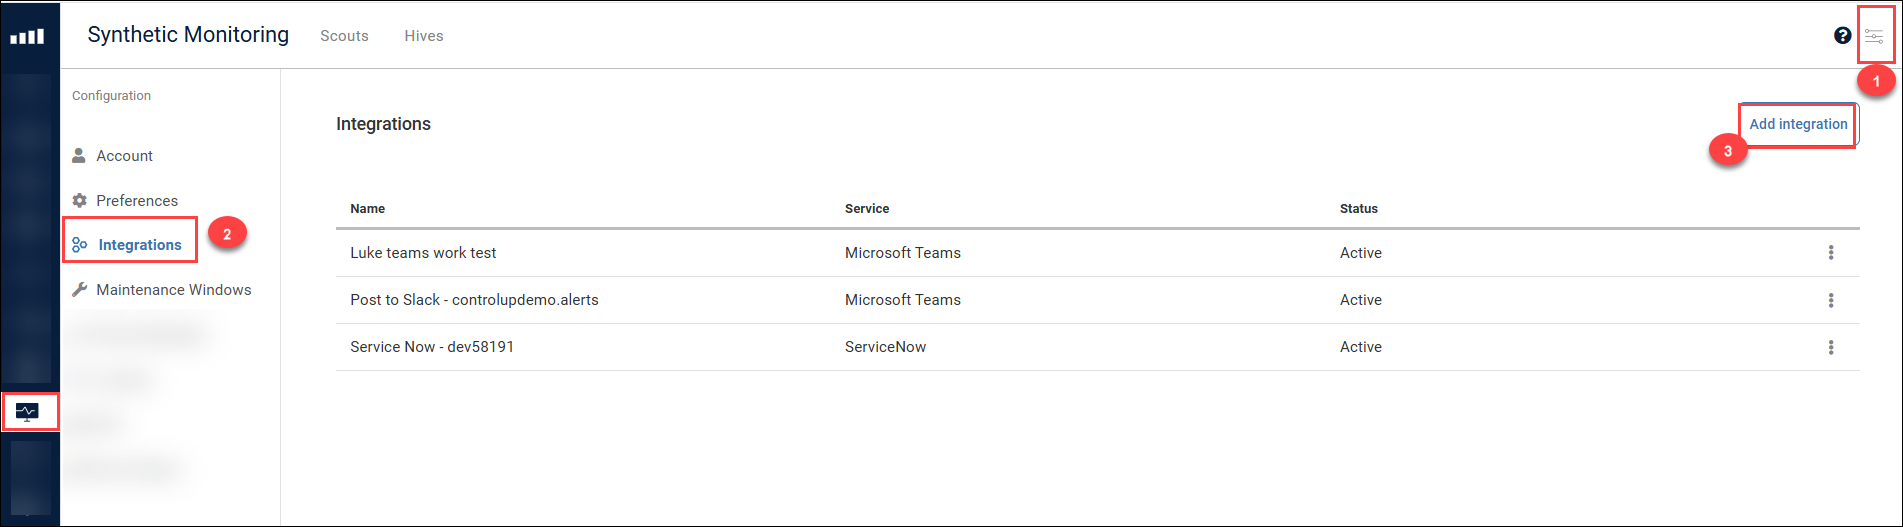
Click on the configuration icon at the top-right of the Synthetic Monitoring page, and select Integrations.
Click Add Integration.
Set the integration Service to ServiceNow.
Enter a Name for the integration. This is the name used to manage your integrations in Synthetic Monitoring.
Enter the following information relevant to ServiceNow:
ServiceNow Instance Subdomain. The ServiceNow endpoint. It should look like https://<instance-name>.service-now.com.
ServiceNow User. This user must have permissions to create and manage incidents.
ServiceNow Password. Password for the above user.
Short Description Text. This creates the incident subject. You can also use variables there.
Default Urgency. Sets the level of urgency for the created incident (High, Medium, Low).
On Resolve. Sets what happens to the ServiceNow incident when the Scout's alert is deactivated. It can be:
Resolve Incident
New Incident
Close Incident
Additional Parameters. Add additional fields that you want to fill out on your ServiceNow incident form when the Scout's alert policy activates. Enter the Name of a field that exists in your ServiceNow incident form, and the Value that you want to add to that field.
To test the ServiceNow integration before saving it, click Test. For example:
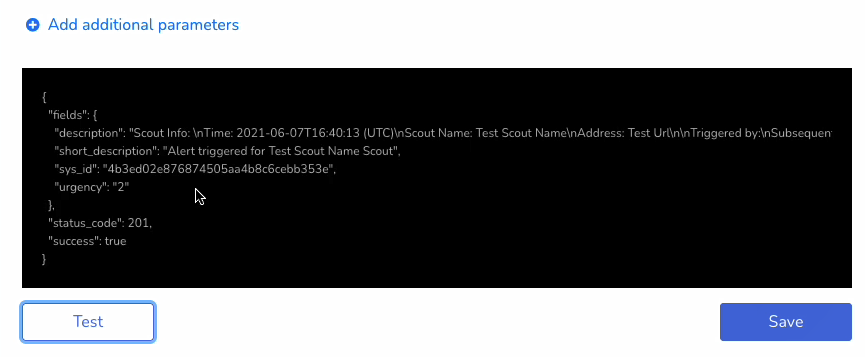
A new incident is created on ServiceNow:
Click Save to save the integration.
Edit or Delete the ServiceNow Integration
To edit the configuration, go to the Configuration menu in Synthetic Monitoring and click Integrations.
From the integrations list, select the required integration and click the 3-dot menu on its right.

Select Edit or Delete.