This article describes how to configure a Okta connection. Read IdP integration overview for details on how you can use identity provider integrations with ControlUp.
Prerequisite permission
To set up an Okta connection, your ControlUp account must have the Identity Providers permission.
Step 1 - Create an API token in Okta
You must create an API token in Okta with the required permissions depending on which ControlUp module uses the connection.
Required API token permissions:
- For Okta connections configured for Secure DX, the API token requires the following permissions:
- okta.logs.read
- okta.users.read
For details, read the Okta documentation for managing API tokens and creating API tokens with custom permissions.
To create an API token:
- In the Okta Admin Console, go to Security > API > Tokens > Create token.
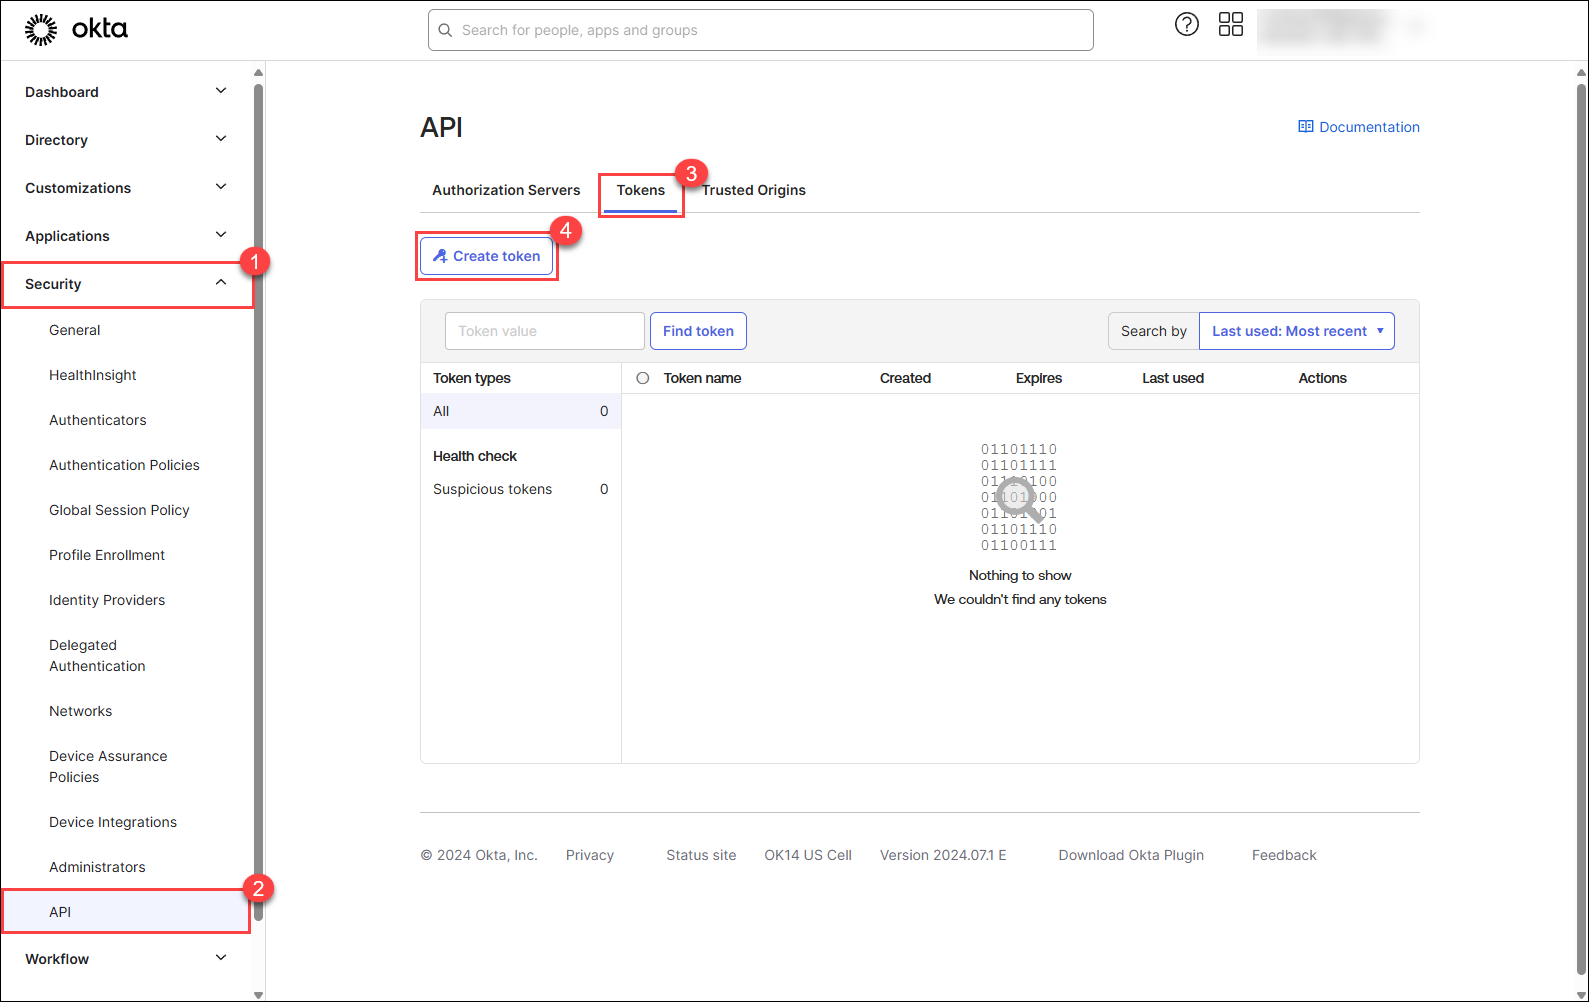
- Enter a custom name for the token and click Create token.
- Copy the token value.
Step 2 - Set up the Okta connection in ControlUp
-
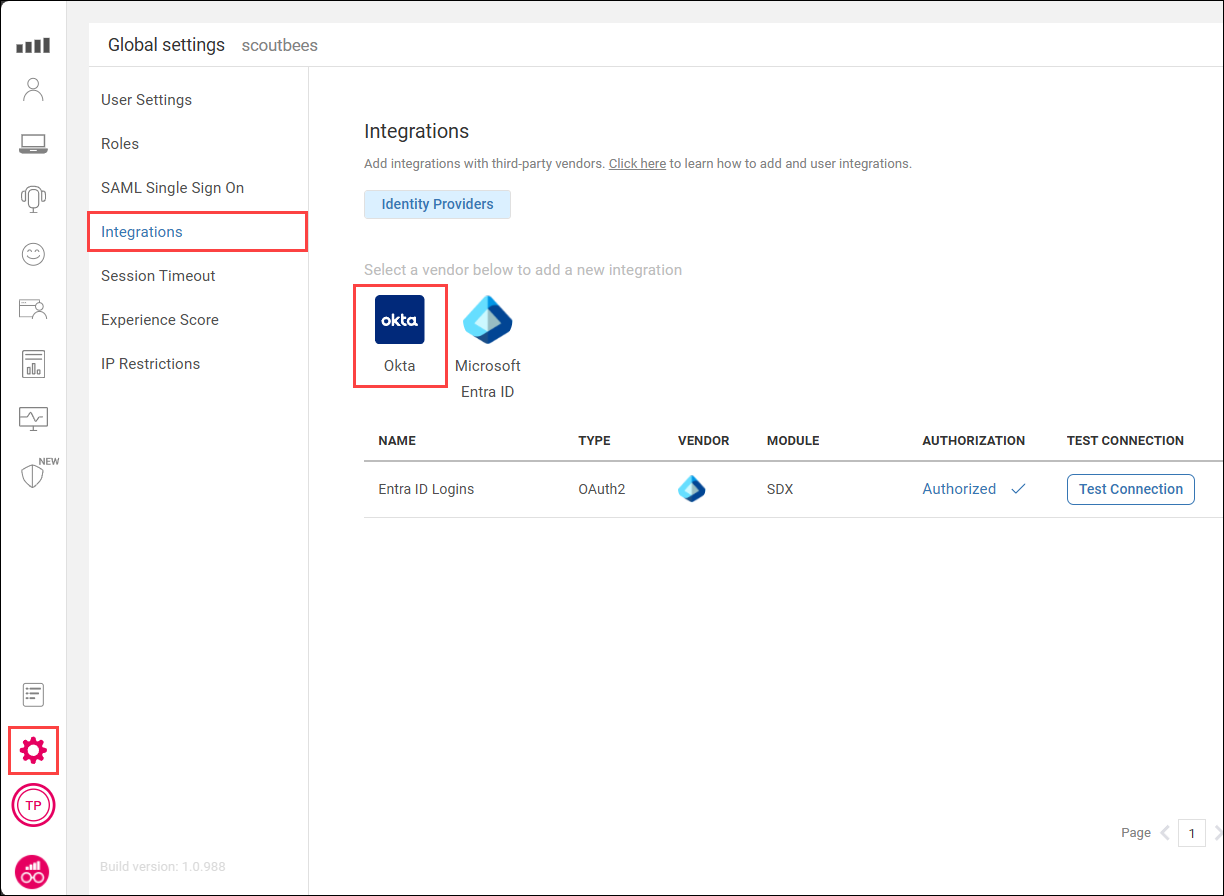
In ControlUp, go to Settings > Integrations > Identity Providers and click the Okta icon to start adding a new Okta connection.
-
Under Purpose, select which ControlUp product area uses the integration. This selection determines what data ControlUp pulls from Okta.
-
Enter a Name for the Okta connection.
-
In the Domain field, enter your Okta domain. Read Find your Okta domain for more information.
-
In the API Token field, paste the API token that you created in Okta.
-
Click Add Connection.
-
Find the connection you added in the table and click Test Connection to check that the connection is configured correctly. This is a mandatory step.