There are multiple ways to add users to ControlUp:
If you use SAML, an account is automatically provisioned when a new user signs in to ControlUp with SSO. The user account is assigned the default user role for provisioned accounts. If you configure SSO groups, the user is also assigned roles according to their user groups in your IdP. Read SAML Single Sign-On to learn how to set up SAML SSO.
You can manually invite a user by their email address. When a user accepts the invitation, they can create their account by using one of the allowed login methods for your organization (Azure or Google OAuth, or by creating a username and password). Read How to invite users below for details.
While the email address of the user who creates a ControlUp organization must have an enterprise domain, there are no domain restrictions when adding users to an organization. For example, you can create an organization with an @acme.com email address, and then invite users with an @gmail.com email address.
Configure allowed login methods
You can control allowed login methods by going to Settings > Login Methods. Learn more.
How to invite users
To invite users to the DEX Platform:
Go to Settings > User Settings.
Click Invite Users.

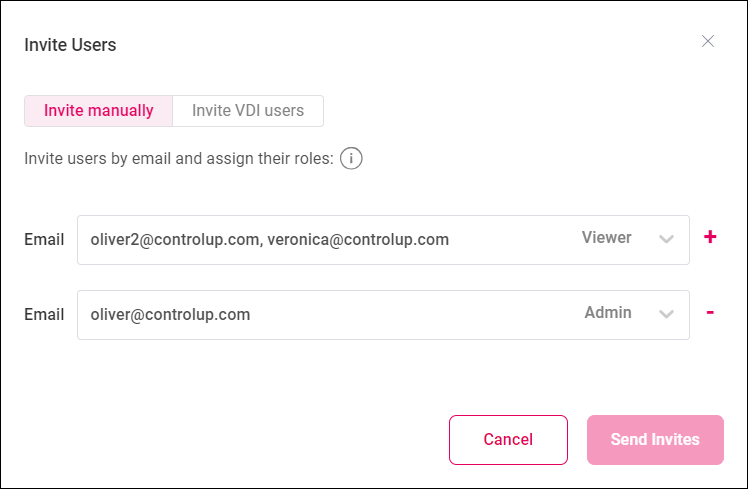
Select either Invite manually or Invite VDI users.
If you select Invite manually, enter the Enter the email addresses of the users to invite and select a role for each user. You can add multiple email addresses on a single row, separated by a space or a semicolon. You can invite up to 100 users at a time.
If you select Invite VDI users, a list of all users who have signed into the Real-Time Console or Solve (our legacy web console) appears. You can select users from the list to invite and select their roles. This feature is useful if you previously had many people using the Real-Time Console or Solve, and want to invite them all to the DEX platform.

Click Send Invites.
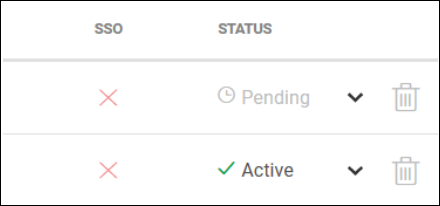
The invited users receive an email with a link to accept the invitation and sign up for their account using any of the allowed login methods for your organization. The invitation link is valid for 72 hours. A user's status changes from Pending to Active after they accept the invitation.
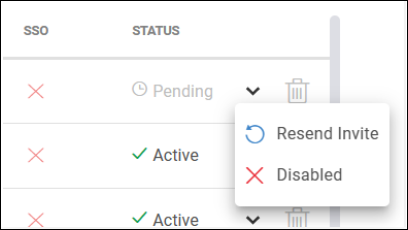
To resend the invitation link, click the arrow menu and select Resend Invite.