REST API Reference
Visit https://api.controlup.io/reference for full details about ControlUp's REST APIs.
In a ControlUp Hybrid Cloud environment, you can use API authentication tokens (API Keys) to authenticate to your VDI and DaaS organization. If you use PowerShell cmdlets from the ControlUp Automation module to deploy components of the Real-Time DX Console, an API Key is required to:
Install a ControlUp Monitor on both domain-joined and non-domain-joined machines in your organization.
Install a ControlUp Agent and automatically register it with your organization.
You create an API Key with our web interface (app.controlup.com) and store it in a local profile. The local profile is saved in a user profile, ensuring that only the profile owner can access the API Key. This enables you to conveniently run PowerShell cmdlets without needing to provide the API Key each time.
Prerequisites
You must be assigned the DEX Admin role in the Real-Time Console.
You must be assigned the Manage API Keys permission in the web interface. Note that the role/permissions must be assigned directly to the user who creates the API key, and not assigned indirectly via SSO groups.
Create an API Key
To create an API Key:
Sign into ControlUp's web interface.
Click your profile icon in the top-right corner > API Key Management.
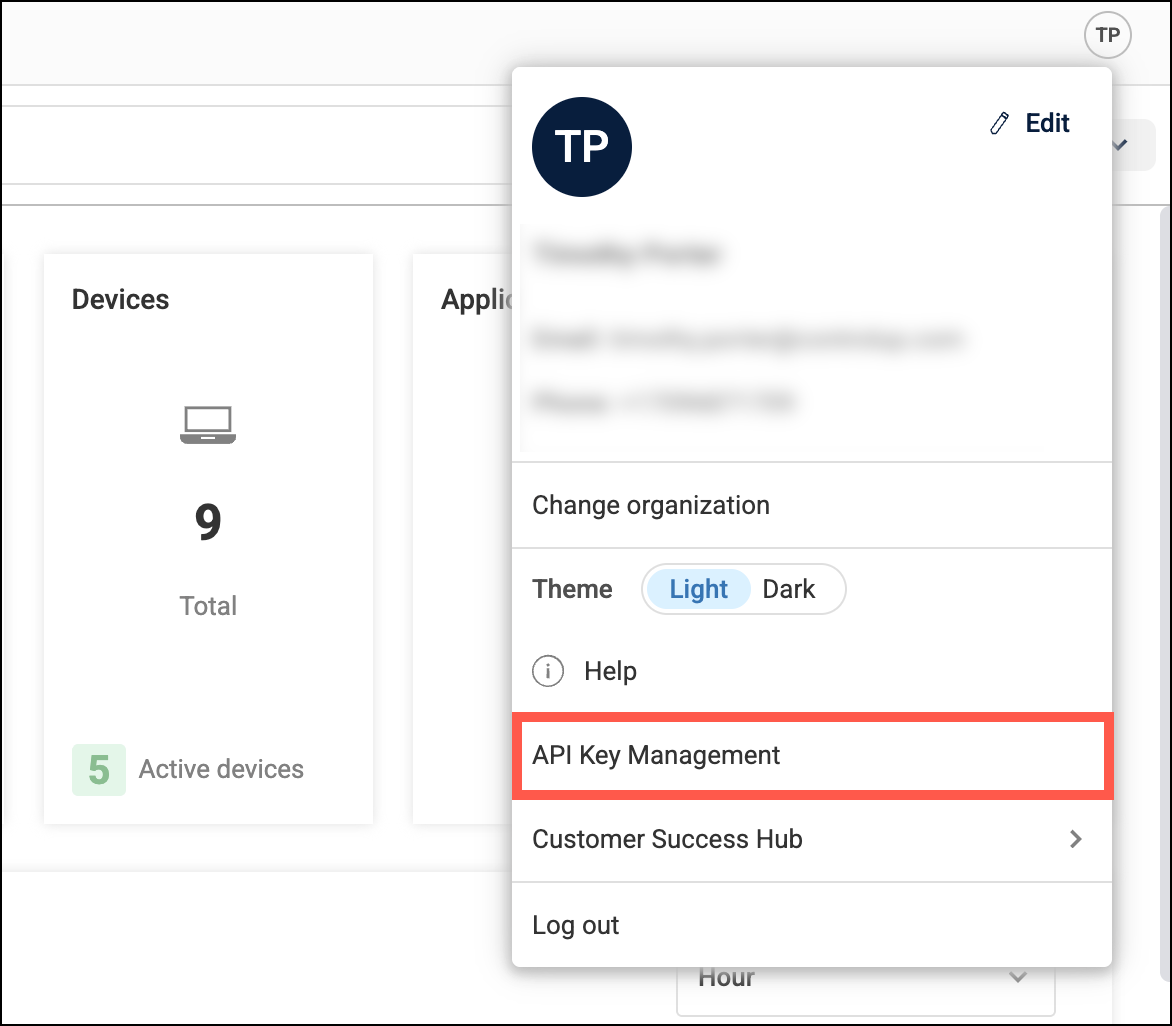
Click + Create new and configure the API Key as needed.
Click Create Api Key and immediately copy it to a secure location. You can now use it as an API Key in your PowerShell cmdlets.
Store an API Key in a Profile
To store an API Key in a user profile:
Login as a user on the monitor machine and install the ControlUp Automation module.
Open an elevated PowerShell window, run the Set-CUAPIToken cmdlet and provide the token (API Key) and profile name:
PowerShell
Set-CUAPIToken -Token [APIKey] -Profile "[ProfileName]"For example:
PowerShell
Set-CUAPIToken -Token eyJhbGciOiJI... -Profile "MyProfile"To verify if the profile was created and switched to, run the Get-CUAPIProfile cmdlet:
PowerShell
PS C:\users\cuadmin> GET-CUAPIProfile
MyProfile
This creates a .cuapi file under C:\Users\Username\AppData\Roaming\ControlUp. The API Key is securely encrypted using DPAPI.
Optionally, to store an additional API Key in a separate user profile, run Set-CUAPIToken again with a different profile name. The new profile is added to the .cuapi file.
To verify the currently active profile, run Get-CUAPIProfile:
PowerShell
PS C:\users\cuadmin> GET-CUAPIProfile
MySecondProfile
Run the Install-CUMonitor cmdlet without the -Token parameter to use the API Key stored in the current profile.
Troubleshooting
Issue
The monitor installation fails with the error "Token verification failed".
Reason
The API Key stored in the currently used profile is expired, incorrect, or has been revoked. Note the request ID and search for it in Splunk for more information.
Solution
Create a new API Key and store it in a new or existing user profile.
If multiple profiles exist, run Set-CUAPIProfile to switch to the profile you want.