Once you have deployed a new SOP server, you can configure it in different ways. This article shows you in which ways of you can configure your new SOP appliance. This guide assumes that you already have an SOP server installed. If not, refer to the SOP installation guide.
Notes
You can no longer use the root user to SSH the SOP server. Instead, use the cuadmin user with the password that you defined during the ova deployment.
To see other bug fixes and feature, refer to the on-premises release notes.
Settings Overview
On the main page, click the wheel icon in the left bottom corner to access the settings page:
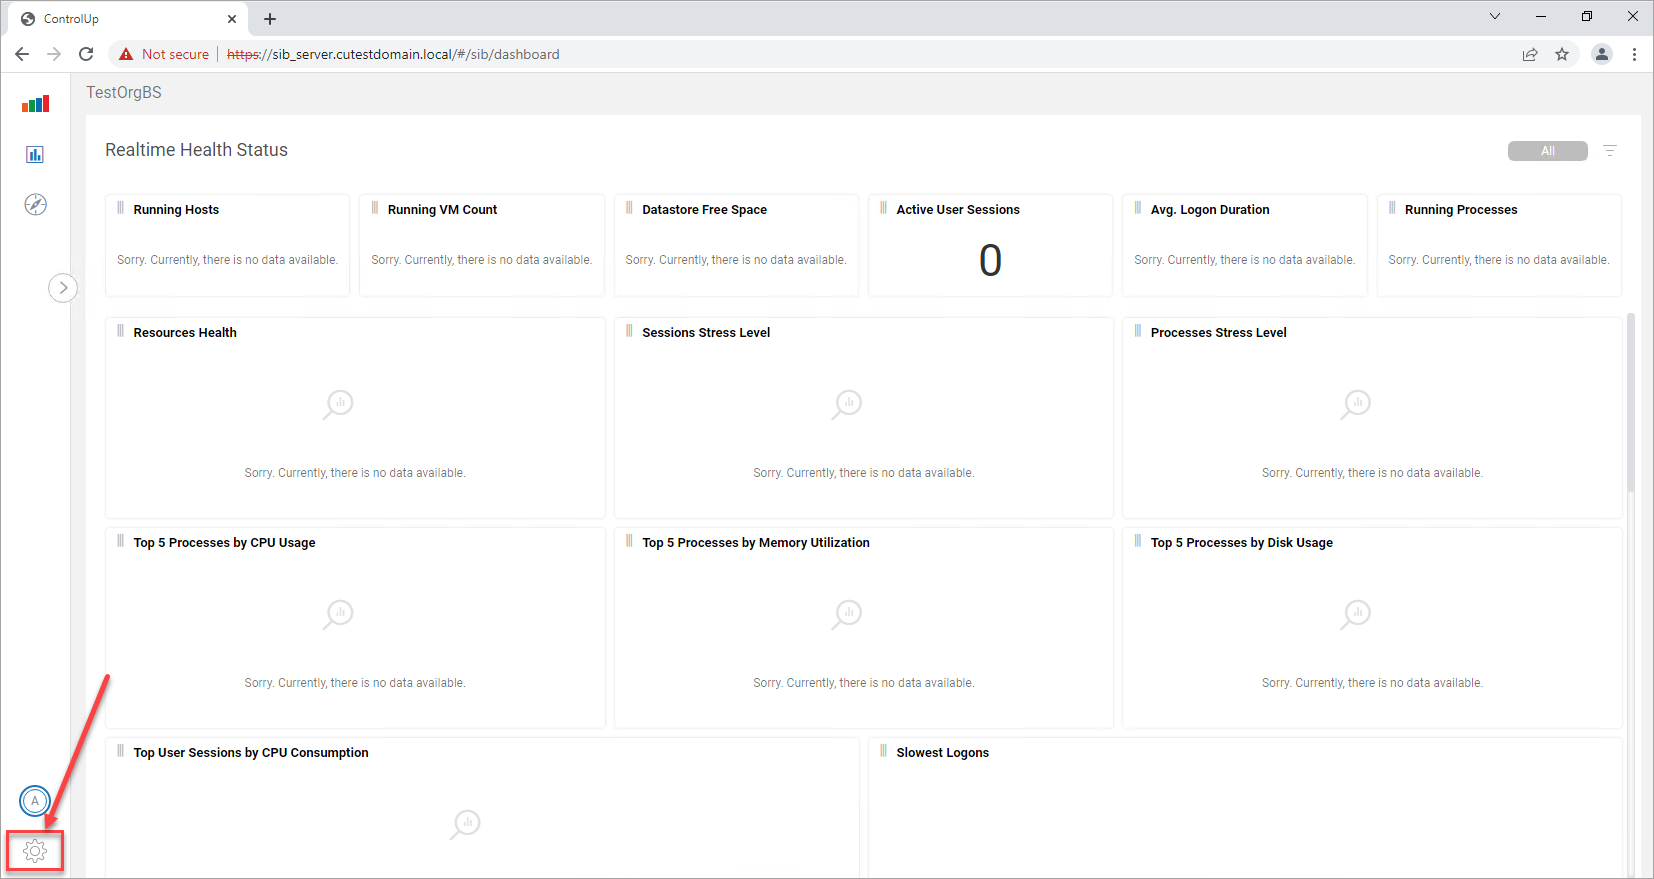
This will open the Settings page where you can choose between various settings, which will be further discussed in the following sections.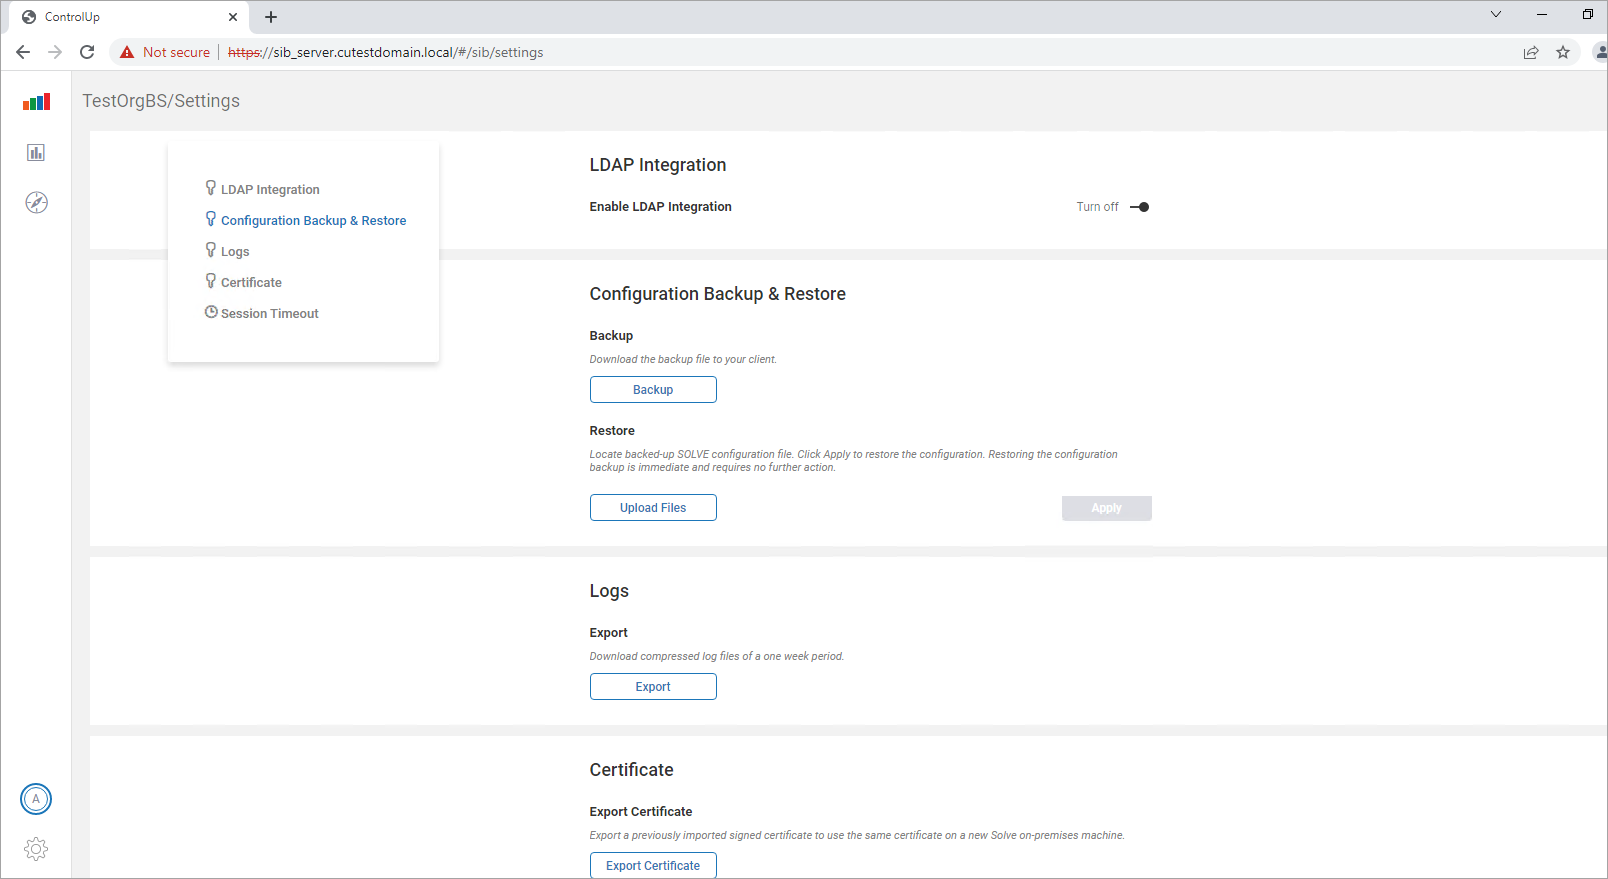
LDAP Integration
By default, you need to log in to your SOP frontend with your domain credentials. It is not possible to turn off the LDAP integration option in the settings menu.
Export Logs
You can save the log files from your SOP appliance to your local hard drive. To do so, click the Export button. You can find the contents of the directory /opt/sib_volumes/logs on your SOP server in the archived file.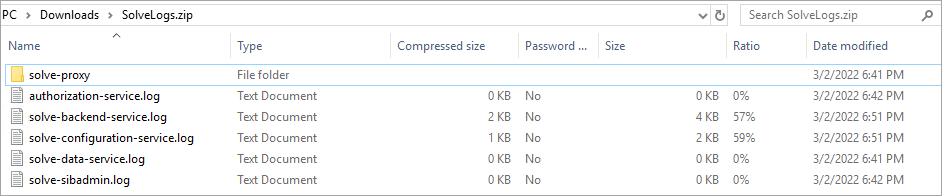
SSL Certificate
To have access to the SOP server, you need to install an SSL certificate on the SOP server by running built-in scripts that are located in the /opt/scripts directory.
By default, SOP creates a self-signed certificate that uses the machine name. This certificate is used for the SSL access to the Solve frontend.
Export SSL certificate
By clicking the Export Certificate button, you can export a previously imported signed certificate which can be later imported on a new SOP machine. This creates a zip that contains the server.crt and the server.key files. These two files are stored on the SOP server in the /opt/sib_volumes/solve-proxy/ssl folder.
Import SSL certificate
We provide two ways to import your own SSL certificate. You can either import the certificate from the settings page or from the command line. Based on your decision, follow the instructions in the corresponding sections.
Import SSL certificate from the GUI
Importing the SSL certificate from the settings page is our recommended way to import as you don't need to manually upload the files onto your SOP server.
To import your SSL certificate
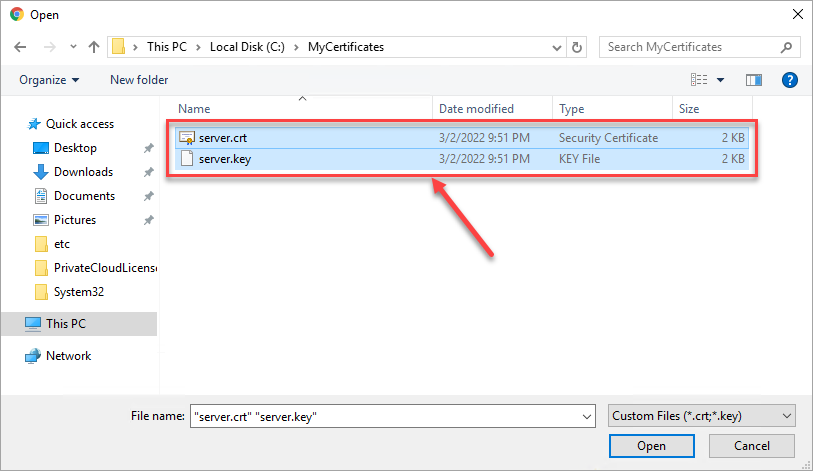
Ensure that the certificate and the private key files are named as server.crt and server.key before proceeding. The certificate import will not work if the files have different names.
Click the Upload Certificate button and mark both, the certificate file (*.crt) and the private key (key). Click Open.
Both files are displayed. Click the Apply button to finish the import.
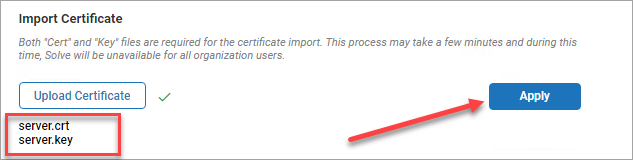
The Certificate installed successfully message appears if the upload was successful.

How To: Import SSL certificate from the command-line
If you have your certificate and private key available on your windows machine, use SCP to transfer the certificate (*.crt file) and key (*.key) file to the SOP server.
scp server.crt root@${sop_ip_address}:/opt/sib_volumes/solve-proxy/ssl
scp server.key root@${sop_ip_address}:/opt/sib_volumes/solve-proxy/ssl
SSH to the SOP server and navigate to the /opt/sib_volumes/solve-proxy/ssl folder. Make sure that both certificate files exist.
Change to /opt/scripts and check that you have the user-cert-update.sh script.
Make this shell script executable, as shown here:
chmod +x user-cert-update.sh
Launch the backup script. After the script is complete, the Nginx container restarts and the SOP server starts to use the new certificates.
./user-cert-update.sh
Backup Configuration
Backing up the configuration is important if you want to upgrade or migrate your SOP appliance to another machine. By clicking the Backup button, you can save a tar file that contains the data files of the internal SOP database. Once you saved the file, you can later restore it.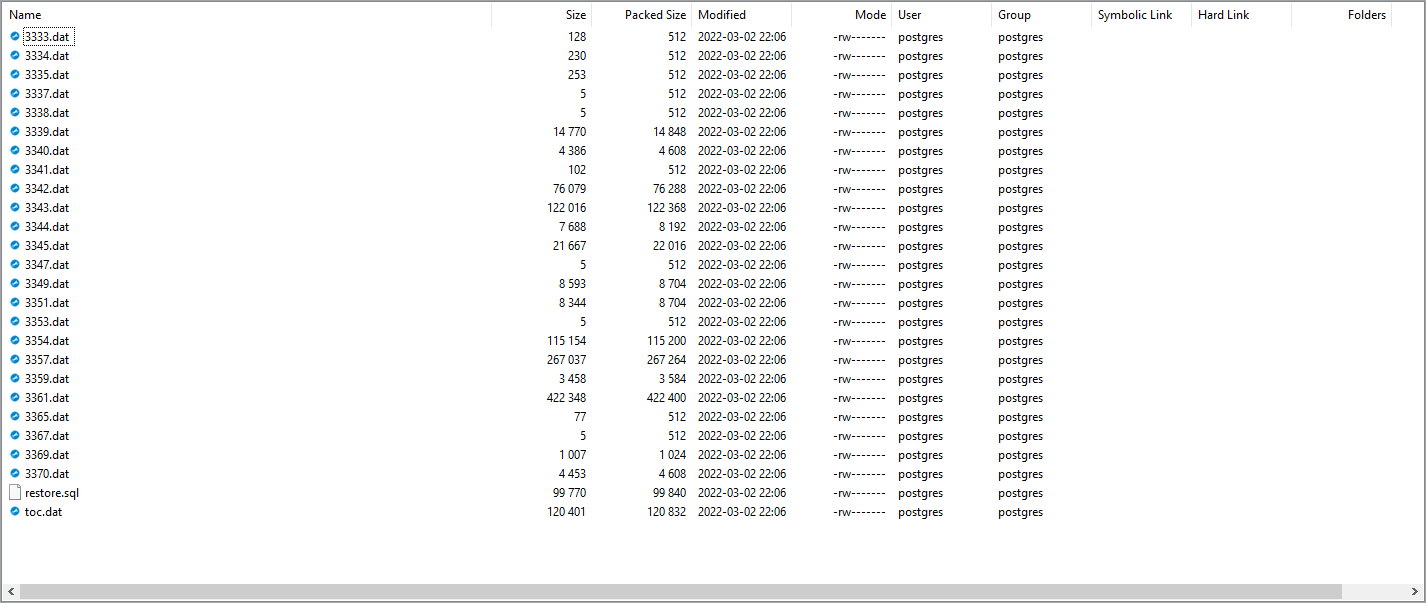
Restore Configuration
The Upload Files button allows you to import a backup file that contains configuration information.
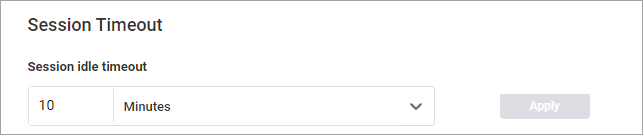
Session Timeout
Set the number of minutes after which an active session in Solve is terminated. An auto-logoff occurs if the user session is idle for a certain period of time. By default, the timeout is set to 10 minutes.