Forms in Workflows allow you to create and deploy structured, hosted HTML forms that connect directly to your flow logic. Forms provide a secure and seamless way to collect inputs like incident reports, change requests, and evaluations - automating data capture and triggering flows based on user submissions.
Forms Tab

The Forms tab displays the following data for each form:
Name: Name of the form.
Flows Used: Number of flows using the form.
Submissions Count: Total number of successful submissions of the form.
Last Submitted: Timestamp of when the form was most recently successfully submitted.
Submissions (7D): Number of successful submissions in the last 7 days.
Creator: Initials of user who created the form.
Published: Indicates if the form was published or in draft state.
Last Editor: Initials of user who most recently edited the form.
Last Modified: Timestamp of when the form was most recently edited.
You can use the filter at the top to filter the table according to each column. To edit a form, click on it’s row.
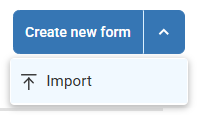
To create a new form, click Create new form. Optionally, to import an existing configuration to create a new form, click the arrow icon next to Create new form > Import.
Create Forms
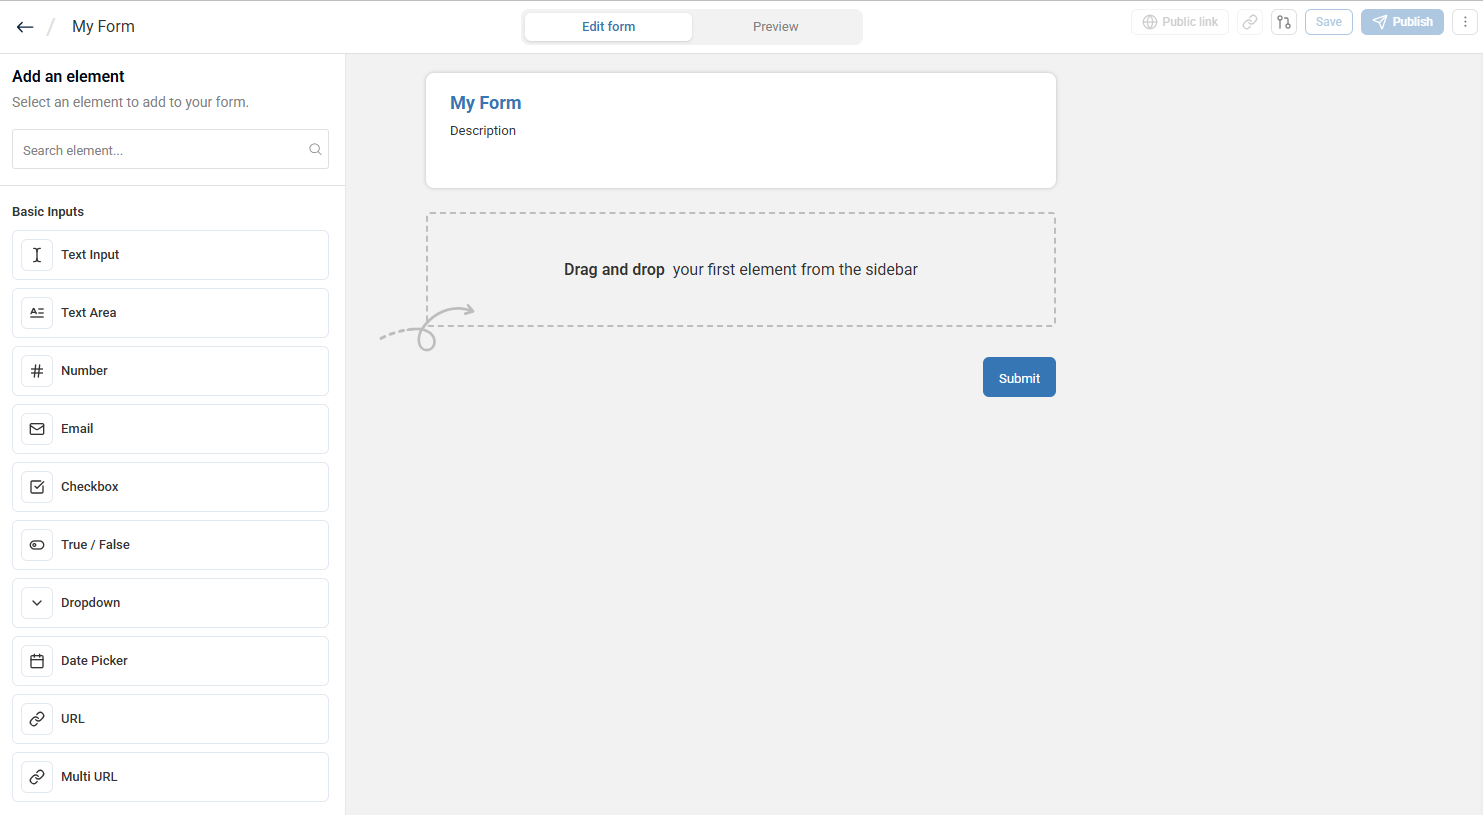
To build a form:
Select, drag, and drop input fields from the Basic Inputs menu on the left sidebar to the canvas. To filter/search inputs, enter text in the Search element field.
To organize the input fields in your form, select, drag, and drop layout blocks from the Layout menu to the canvas.
Click the components in your form to configure their properties on the right sidebar. Here you can define default values, prefill placeholder text, and validation rules.
To preview and test how your form will appear to users, click the Preview toggle at the top of the page.
Click Save to save your current form.
When you are ready to publish your form, click Publish to generate a unique URL and
form-id. The URL can only be accessed by ControlUp users granted the View forms permission.
Optionally:
Click Public URL and follow the on-screen instructions. This makes your URL accessible to users who do not have a ControlUp user.
To run this form in flows with a Form or a Manual trigger, click the select flows icon
 on the top right of the screen, and select flows as needed.
 To connect this form to flows with other trigger types, open those flows and link this form in their Start node.
To copy the form’s URL, click the copy form link
 icon on the top right of the screen.
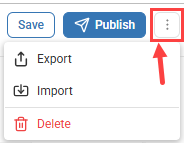
You can now add your form as a Form trigger in a Start node to activate a flow. To export your form, click the actions menu > Export.
Builder Canvas
The Forms builder provides the following design options:
Basic Input Element | Properties |
|---|---|
Text Input | Field to enter text |
Text Area | Field to enter text, with option to add multiple rows to field |
Number | Field to enter digits, with option to set minimum and/or maximum values |
Field to enter email address | |
Checkbox | Checkbox to select |
True / False | Toggle switch to select between two mutually exclusive options |
Dropdown | Dropdown menu list to select a single option from multiple options that you define |
Date Picker | Date picker to select a specific date |
URL | Field to enter single URL |
Multi URL | Field to enter multiple URLs |
To import an existing configuration to create a new form, or to export a form you created, click the top right actions menu:
URL & Hosting
Each form is hosted under the URL: https://app.controlup.com/<org-name>/workflow/forms/<form-id>
This ensures that your forms are saved under your organization, and inherit the same authentications and permissions from the ControlUp domain.
Pre-Fill Form Fields from the URL
You can pre-fill fields in a published form by adding query parameters to the form URL. Use the field label as the parameter name and the value you want to pre-fill as the parameter value.
For example:
https://app.controlup.com/<org-name>/workflow/forms/<form-id>?Email=user@example.com
To pre-fill multiple fields, separate the parameters with an ampersand (&):
https://app.controlup.com/<org-name>/workflow/forms/<form-id>?Email=user@example.com&Department=IT
Users can review or change the pre-filled values before submitting the form.