This article covers how to set up the ControlUp for Desktops Zoom integration for Unified Communications Monitoring.
Prerequisites
To set up the integration with ControlUp, you need Admin permissions on your company Zoom account.
Zoom API access and rate limits
Some Zoom account types may not support the required API access. It is also possible that you can exceed your API rate limit if you have a lot of Zoom meetings. Learn more about Zoom API rate limits for different Zoom account plans.
Step 1 - Create the application in Zoom
Sign in to the Zoom Marketplace with an account that has developer access.
In the Zoom Marketplace, click Build App.

Select Server-to-Server OAuth and click Create.
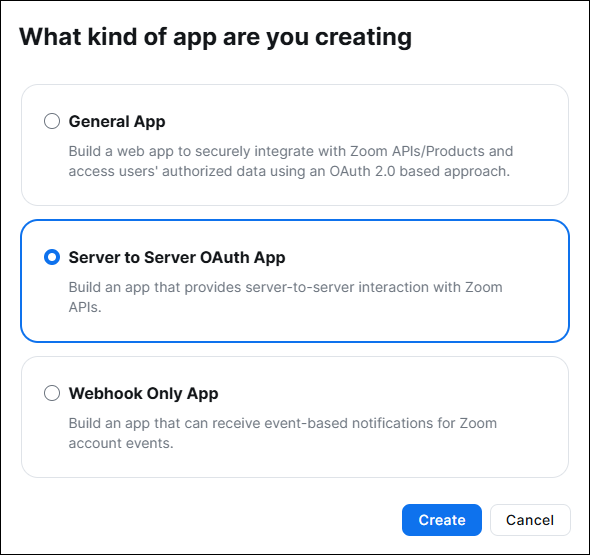
Enter a name for the app and click Create. You can choose any name you like.
Step 2 - Copy application credentials to ControlUp
After you create the application, the App Credentials tab contains three credentials. You must copy these values and paste them into ControlUp.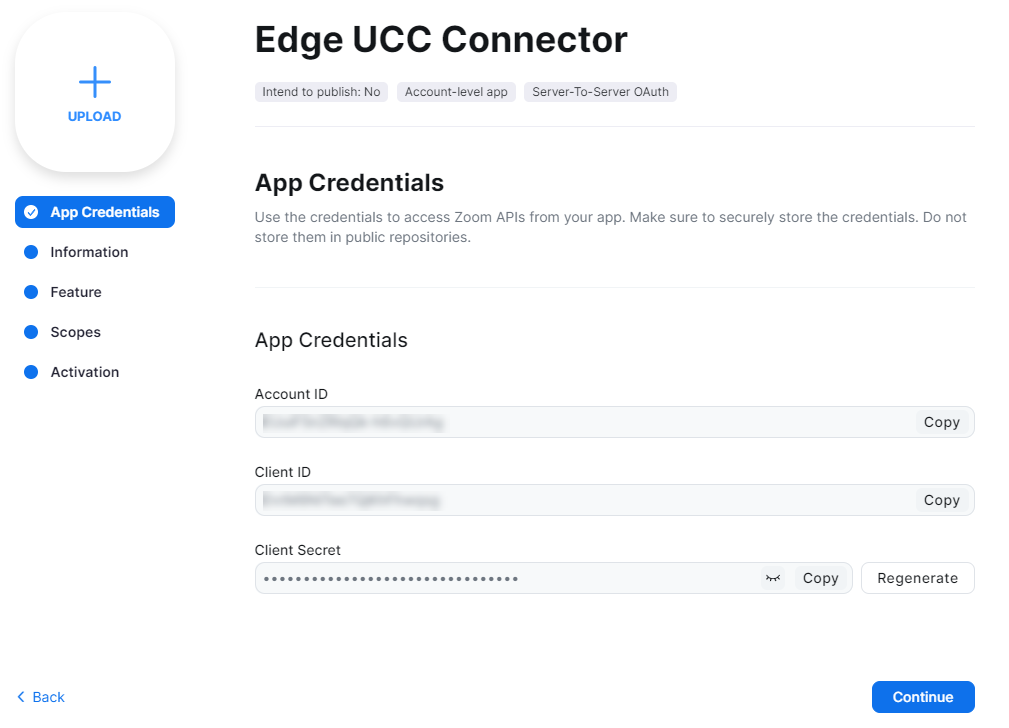
In ControlUp, go to Unified Communications > Configuration.
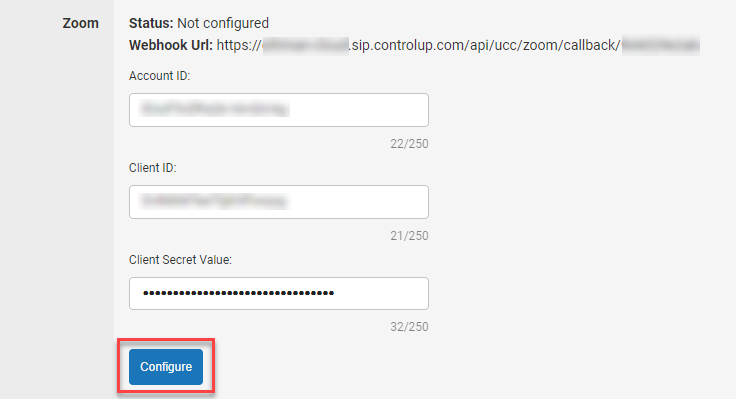
2. In the Zoom section, fill in the Account ID, Client ID, and Client Secret Value fields by copying the pasting the values from Zoom. Do not click Configure..png)
Step 3 - Configure event subscriptions in Zoom
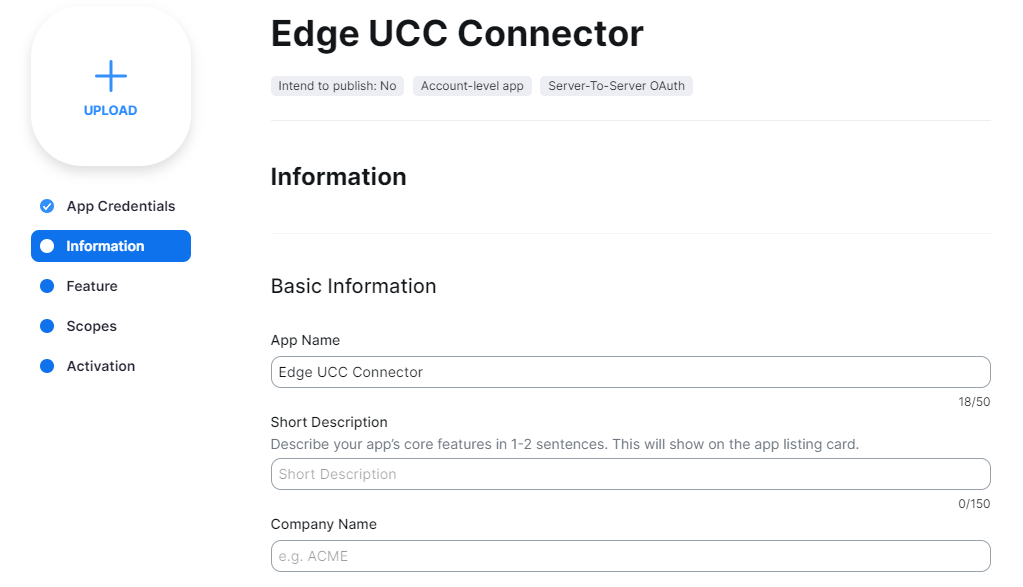
In the Zoom app configuration page, go to the Information tab and fill in all of the fields.
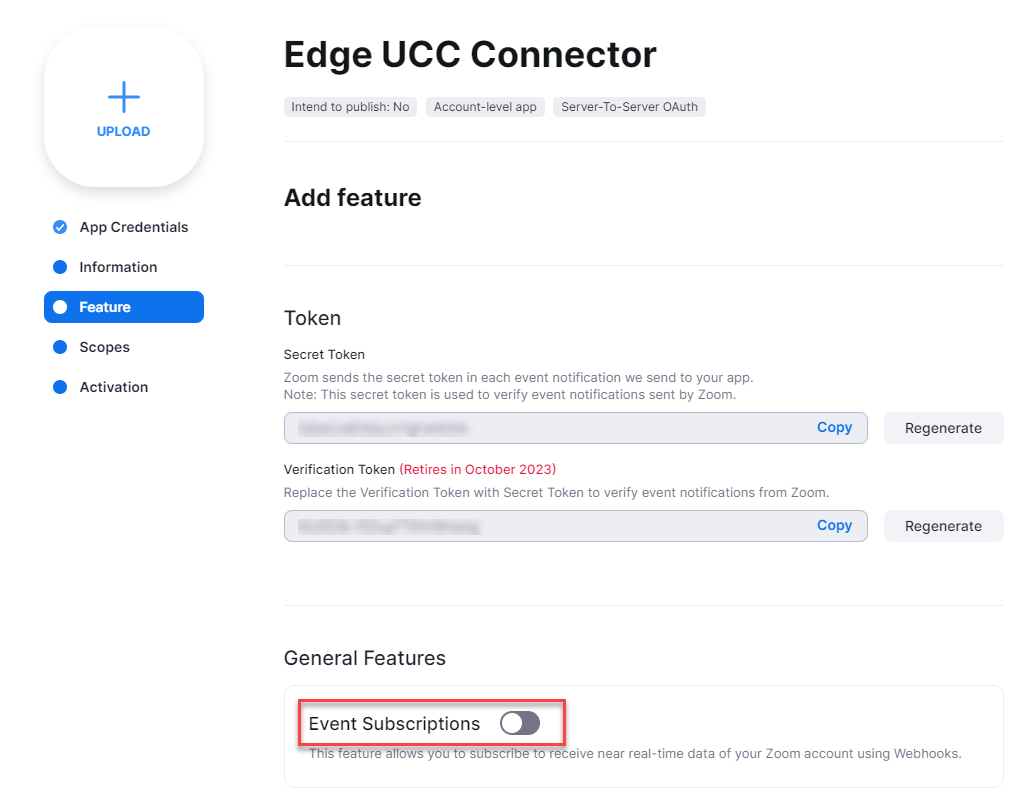
Go to the Feature tab and enable the Events Subscriptions toggle.
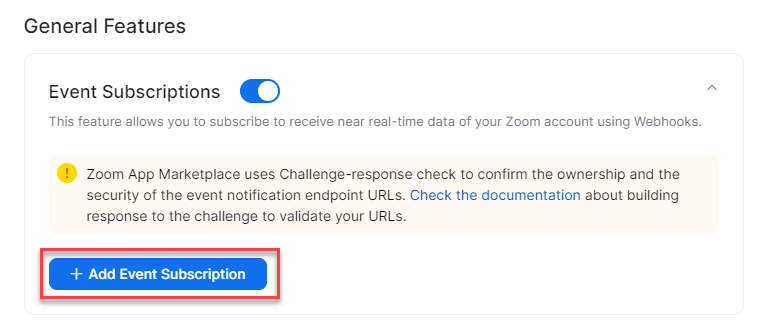
Click Add Event Subscription.
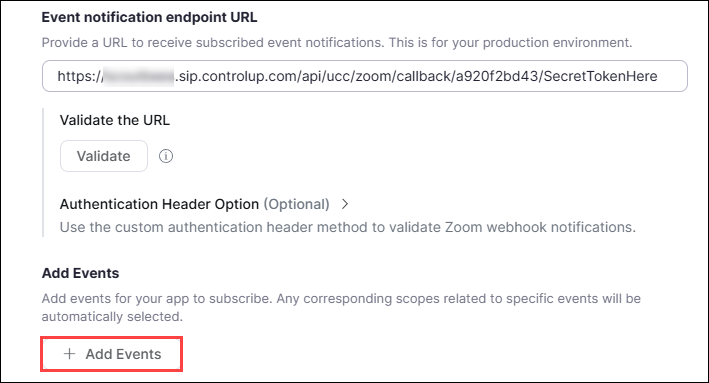
Copy the Webhook URL from the Zoom integration setup page in ControlUp and paste it into the Event notification endpoint URL field.


Enter a forward slash ( / ) after the Webhook URL that you just pasted into the Event notification endpoint URL field.
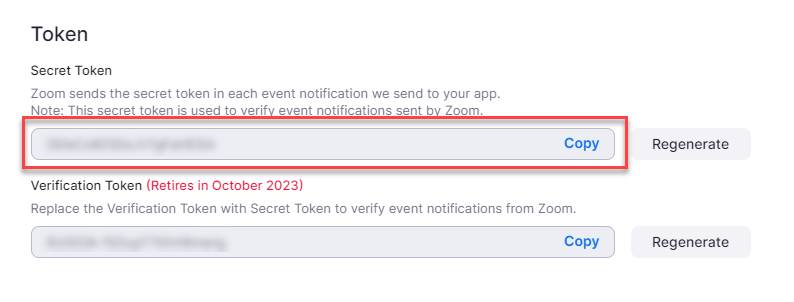
Copy the Secret Token and paste it after the forward slash ( / ) you entered into the Event notification endpoint URL field.
Click Validate to ensure that you entered the URL correctly.

Click Add Events.
Add the End Meeting event from the Meeting tab.
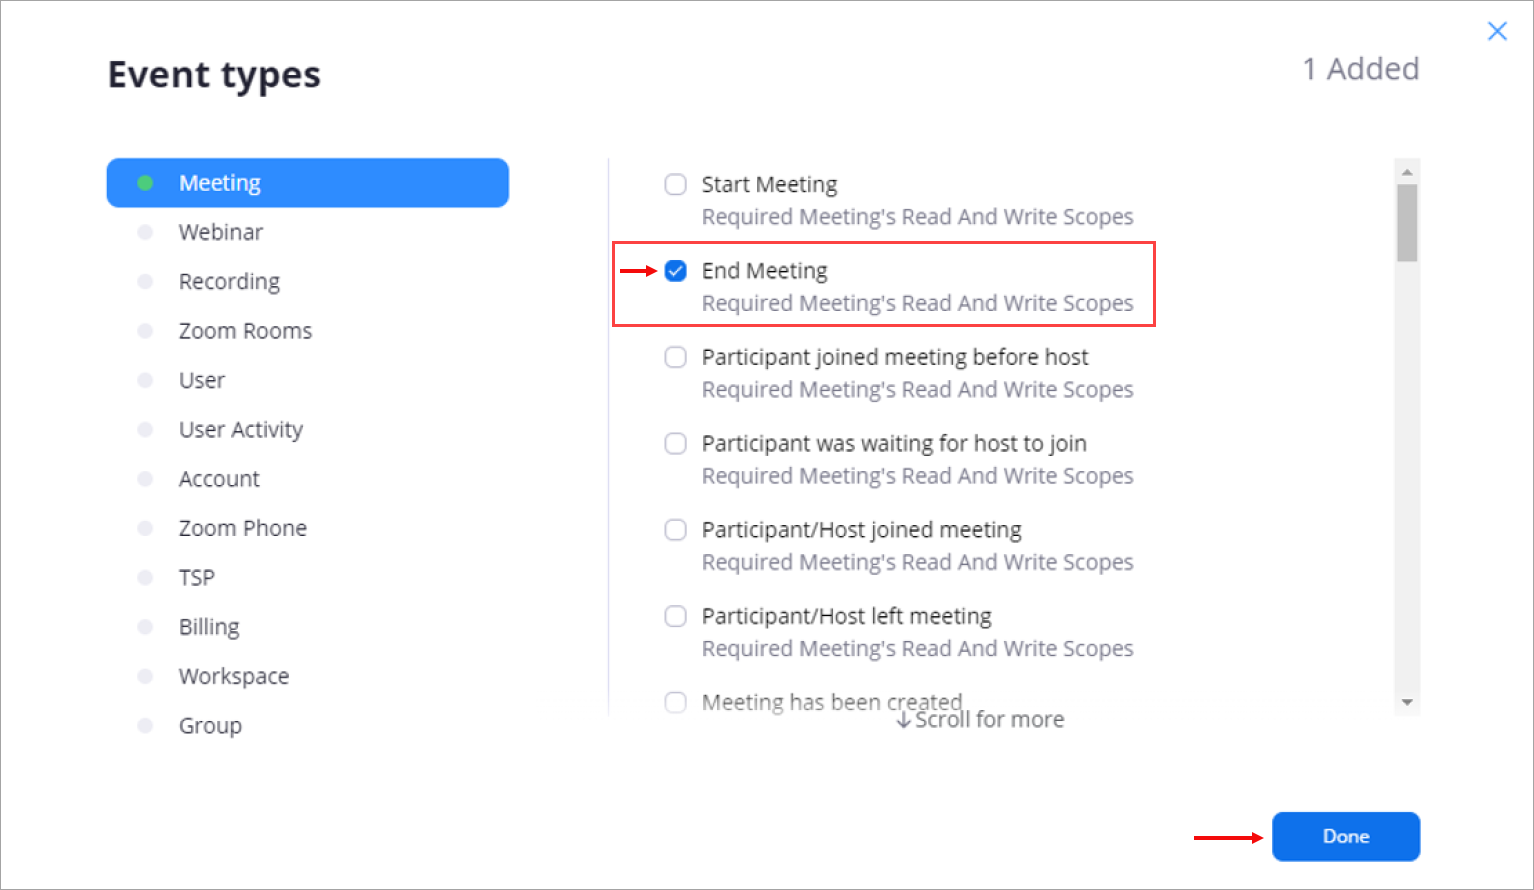
Click Save to save your Event Subscription settings.
Step 4 - Configure scopes/permissions in Zoom
In the Zoom app configuration page, go to the Scopes tab and click Add Scopes.
.png)
Select the following scopes:
dashboard:read:list_meeting_participants:admin
dashboard:read:post_meeting_feedback:admin
dashboard:read:list_meetings:admin
dashboard:read:list_meeting_participants_qos:admin
dashboard:read:meeting:admin
The final list of scopes should look like this:.png)
Note for Zoom classic scopes
The permissions listed above are for Zoom Granular Scopes. If you have an existing integration, you might be using Zoom Classic Scopes. If you are using Classic Scopes, add the following scopes:
In the Meeting tab, select View all user meetings
In the Dashboard tab, select allscoped except View sub account's Dashboard data
Step 5 - Complete the integration
In the Zoom app configuration page, go to the Activation tab and click Activate your app.
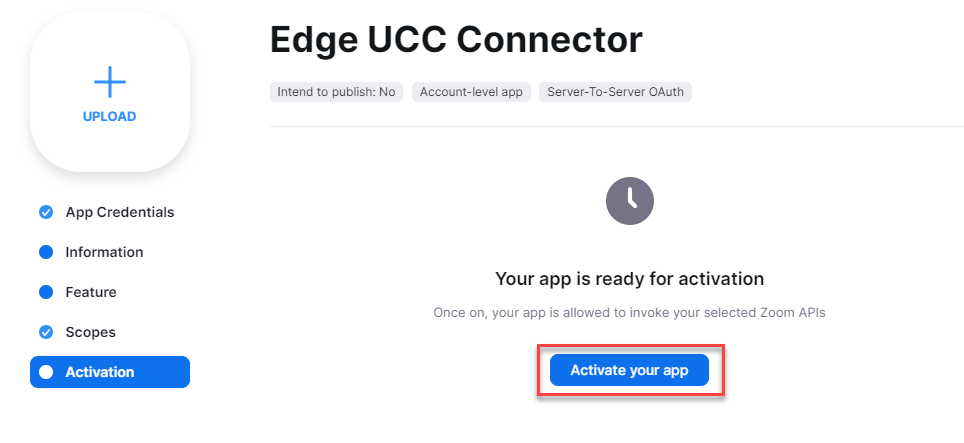
In ControlUp, click Configure to complete the integration setup.
