Custom Hive debugging logs can help identify the cause of issues with your Scouts. If you are creating a support request with ControlUp Support, then you should send the debugging logs for the Scout that is not working correctly.
This article describes how to get the debugging logs for a Scout running from a Custom Hive.
Step 1 - Enable Debug Mode on Your Custom Hive
Debugging logs are stored only if debug mode is enabled on the Custom Hive.
To enable debug mode:
-
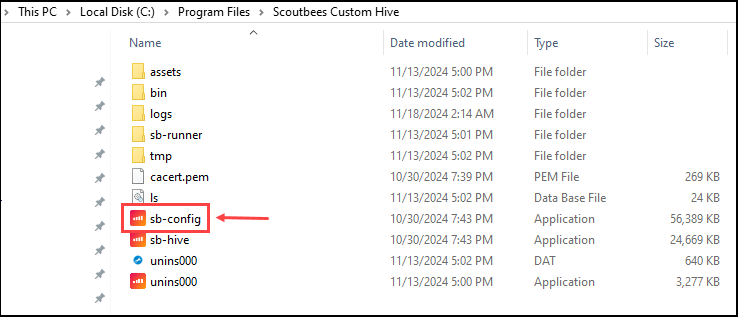
On the machine where the Custom Hive is installed, open the Custom Hive configuration in `C:\Program Files\Scoutbees Custom Hive\sb-config.exe.
-
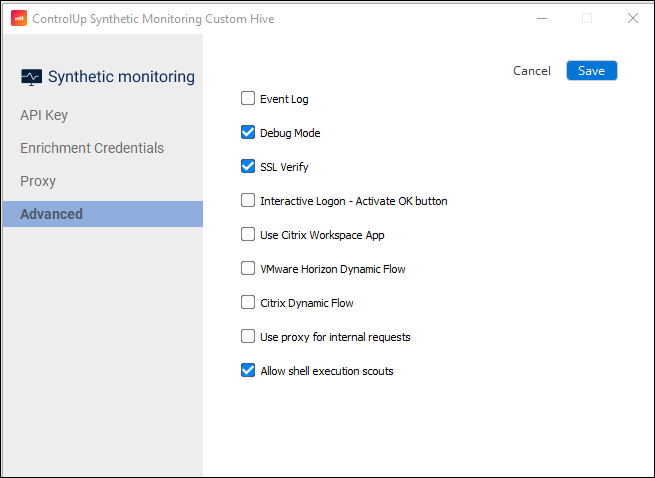
Go to the Advanced tab and make sure that Debug Mode is enabled.
<img
-
Click Save.
Step 2 - Get the ID of your Scout
To get the debugging logs for a specific Scout, you need to know the Scout ID.
To find the Scout ID:
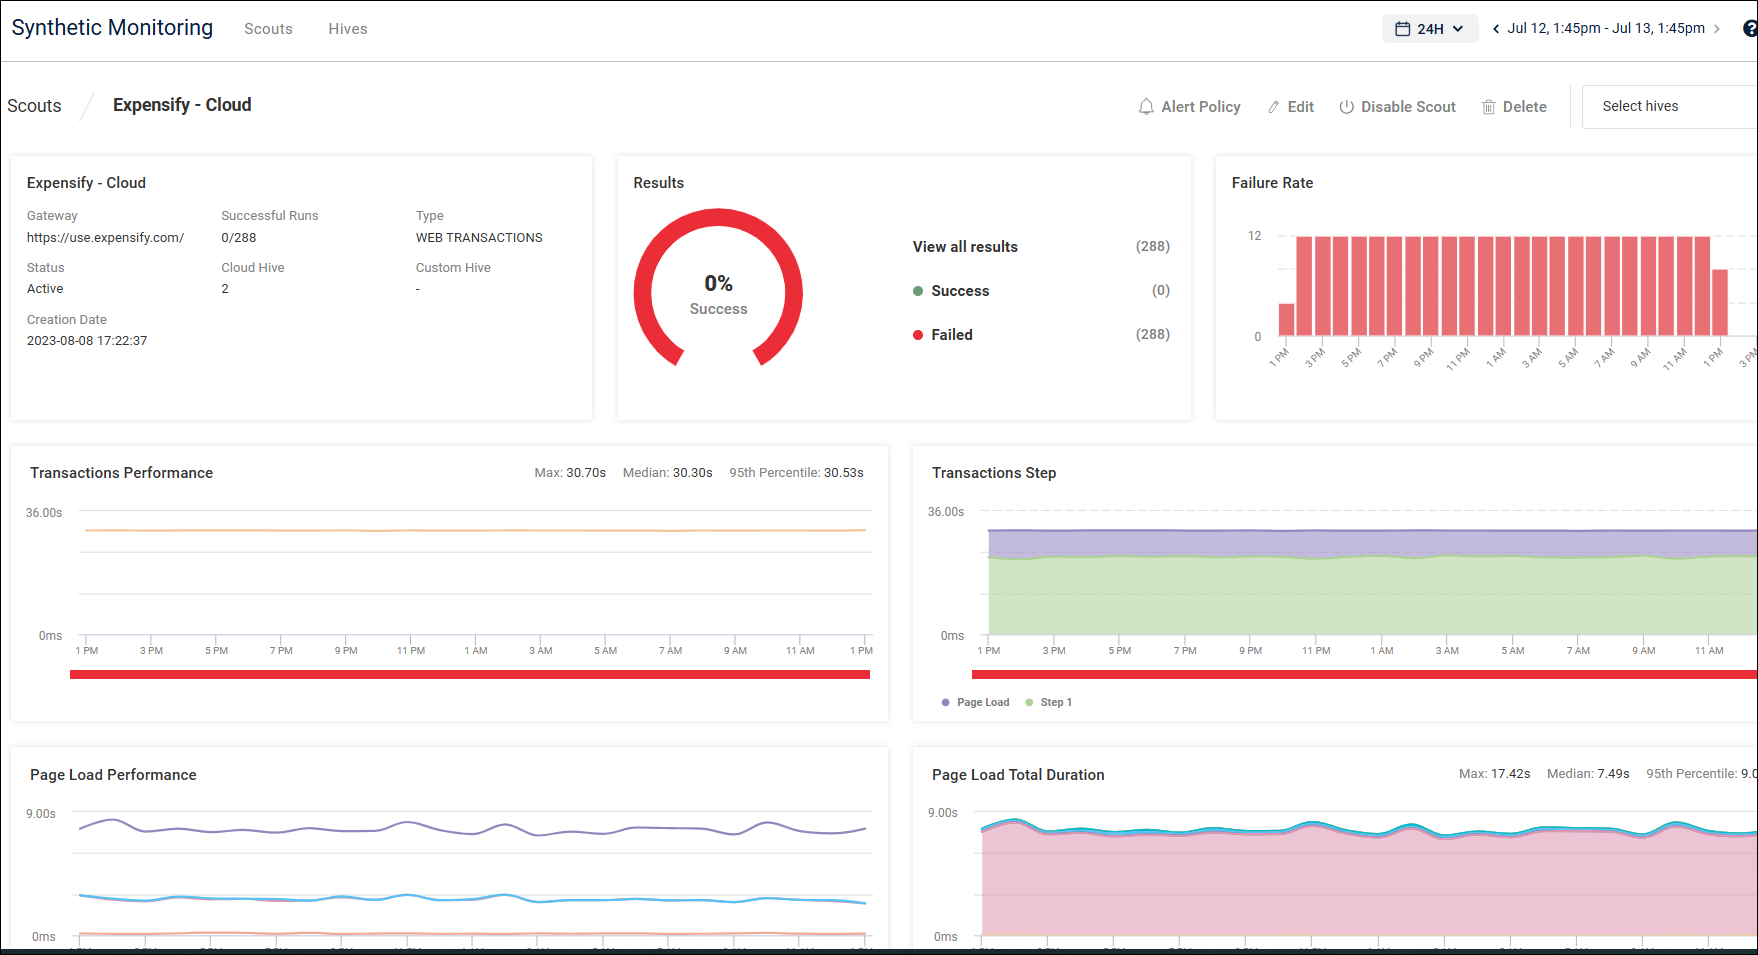
- In Synthetic Monitoring, select the Scout to go to the Scout details page.
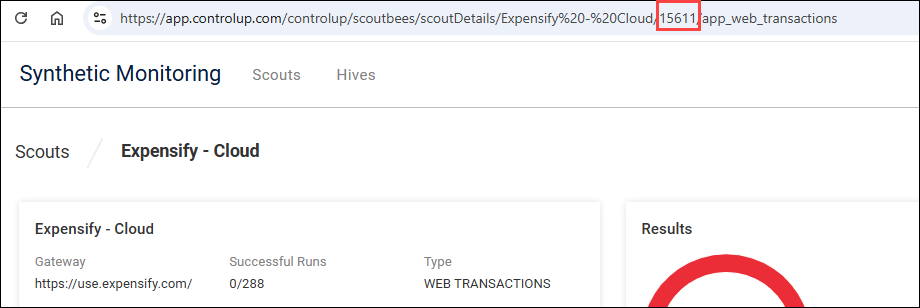
- In your browser URL, a number appears after the name of the Scout. This is the ID of the Scout.
Step 3 - Get the Debugging Logs for the Scout
Now you can get your debugging logs for the Scout. Logs are stored with the Custom Hive that runs the Scout.
- On the machine where the Custom Hive is installed, go to
C:\Program Files\Scoutbees Custom Hive\logs. - Look for a file called
runner-xxxxx-...where xxxxx is the ID of the Scout that you found in step 2. This is the debugging log for the Scout. A separate log is created each time the Scout runs.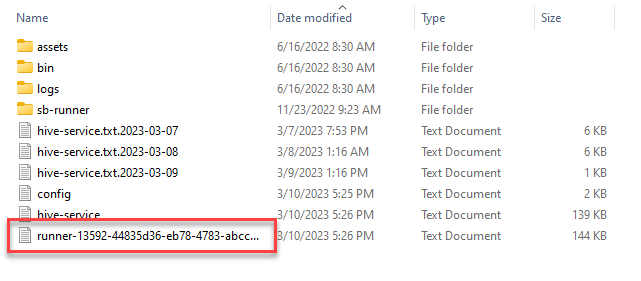
Debug Mode in Custom Hives during Upgrade
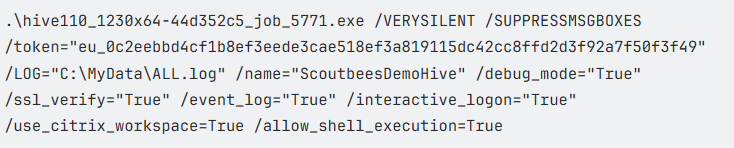
Debug Installation
Note that you can run a Debug mode installation when upgrading a hive. Here is an example for a debug mode script:

There are two ways to perform debug mode installation:
-
With the previous parameters, including debug_mode. For instance:
-
Debug installation of a hive that includes change of parameters - Revert All but Debug:

To return to the default parameters, use the following script. This script does not include the Debug parameter:
