You can add a custom remediation action to a built-in issue if the default remediation provided by ControlUp is either insufficient or unavailable. Adding a custom remediation action overwrites the default remediation for the issue. If you later remove the custom remediation action, then ControlUp reverts back to the default remediation.
If you want to detect and remediate an issue that isn't part of ControlUp's built-in issue catalog, you can create a Custom Issue.
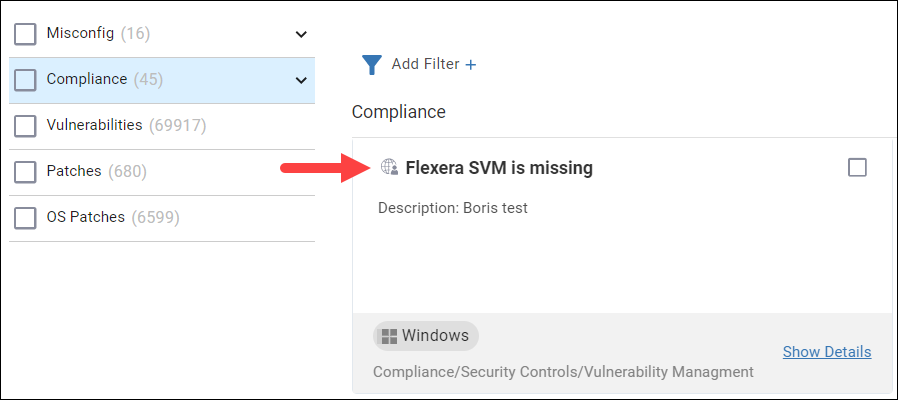
After you add a custom remediation to a built-in issue, an orange icon appears next to the issue's name to let you know that the default remediation has been replaced with the custom remediation:

How it works
A custom remediation action uses remediation scripts to perform an action and validation scripts to check if the remediation action was performed successfully. When a Template scans a device for a built-in issue with a custom remediation:
- The Template runs the built-in scan to search for the issue. If the built-in scan doesn't detect the issue, then the Template doesn't take any further action.
- The Template runs the validation scripts.
- If all validation scripts return their expected outputs, this means that the remediation has already been performed and there is no need to run the remediation scripts again. The issue is not reported and the Template takes no further action.
- If at least one validation script doesn't return its expected output, then the issue is reported and the Template proceeds to step 3.
- The Template runs the remediation scripts. If you enable Require device restart, then the remediation is marked as successful only after the device restarts. The device will automatically restart if Auto Restart is enabled in the Template's settings. Learn more about remediation statuses.
- The Template runs the validation scripts for a second time to check if the remediation was successful.
- If all validation scripts now return their expected outputs, then the remediation is marked as successful.
- If at least one validation script still doesn't return its expected output, then the remediation is marked as a failure.
Example use case
Let's say that ControlUp can detect a CVE for the Windows printer service, but there is no default remediation available. However, you know of a workaround to fix the problem by stopping the service. In this case, you can create a script that stops the printer service and add the script as a custom remediation to the built-in issue. You can also add a validation script to confirm that the remediation was successful by checking whether the printer service is still running.
By adding the custom remediation to the built-in issue, ControlUp can now automatically stop the printer service when it detects the CVE on your devices. If ControlUp detects the CVE but sees that the workaround has already been performed, then the issue isn't reported and ControlUp doesn't attempt to remediate the issue.
How to add a custom remediation to a built-in issue
- Create the remediation and validation scripts and add them to ControlUp for Compliance. Read How to Add Scripts for details.
- Remediation scripts should perform some action to fix the issue.
- Validation scripts should return an output that can be used to determine whether the remediation scripts have successfully run and fixed the issue.
- In ControlUp for Compliance, go to Configuration > Custom Issues and click Add Custom Issue
- Select Add Custom remediation to a built-in issue.
- Click Select Issue... and select the issue to which you want to add a custom remediation.
- Add one or more remediation scripts.
- Add one or more validation scripts and their expected outputs if the remediation scripts sucessfully ran and fixed the issue.