Requirements
To configure an Azure tenant to manage in ControlUp DaaS IQ, you must first prepare the prerequisites with the following values:
Requirements | Description |
|---|---|
Tenant ID | Azure Directory (Tenant) ID |
Client ID | Application (Client) ID |
Client Secret | Secret Value (not Secret ID) |
Add Tenant
To add a tenant to DaaS IQ:
Open ControlUp DEX.
Click Settings.
Under Products, click DaaS IQ.
On the Azure Tenants tab, click + Add Tenant. The onboarding wizard opens.

Enter the following required details you prepared earlier:
Tenant ID: Azure Directory (tenant) ID
Name: Friendly name to call this tenant in DaaS IQ.
Client ID: Application (client) ID. Must be a valid GUID.
Client Secret: Secret Value. String must contain at least 16 characters.
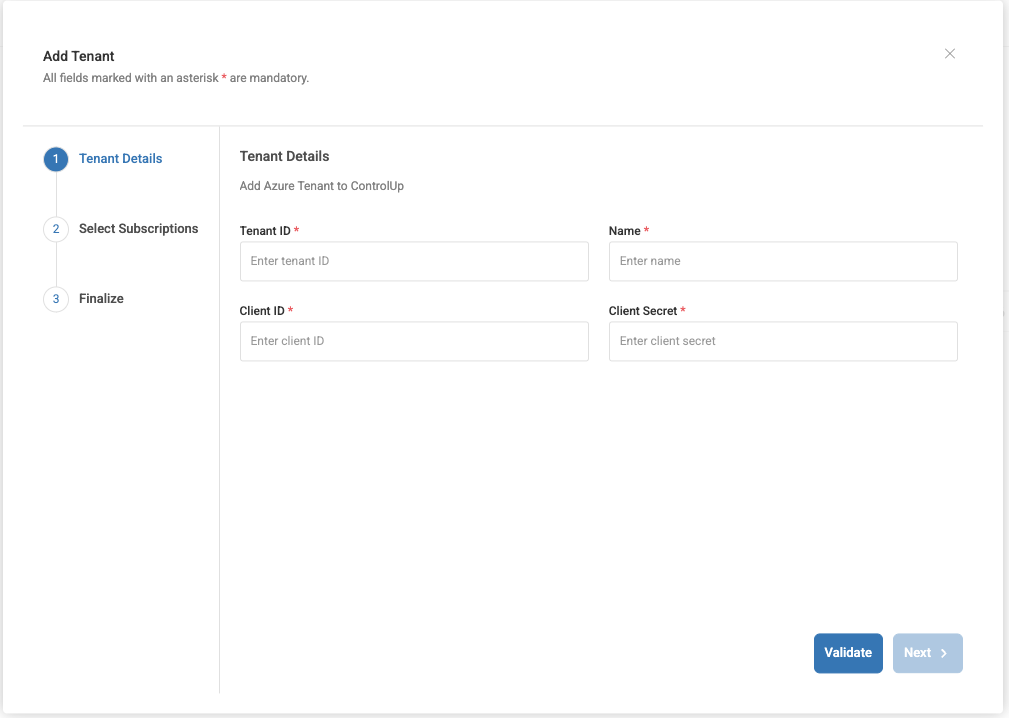
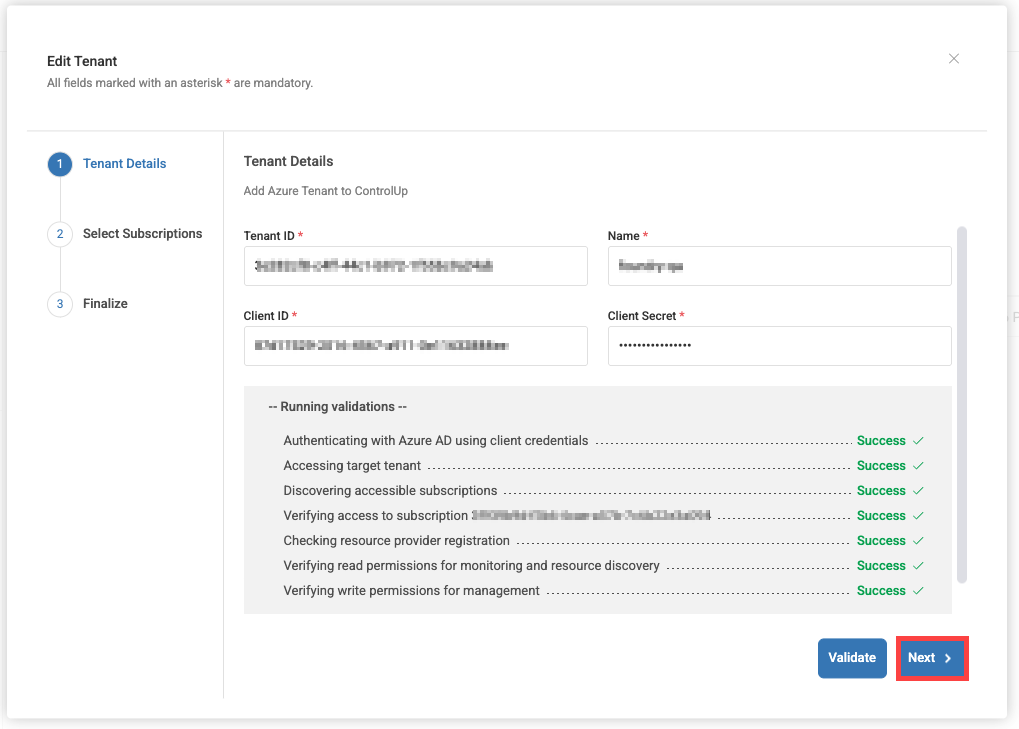
Click Validate.
DaaS IQ validates that it can access and manage the Azure tenant using the provided credentials. If any requirements are missing or incorrect, an error message will indicate what to fix. Fix the issue, then click Validate again.
After successful validation, click Next.
Select one of the following methods to import AVD Resources:
Import all (default) makes all host pools and images available to manage in DaaS IQ.
Advanced lets you select specific resources to add from the Host Pools and Images tabs.
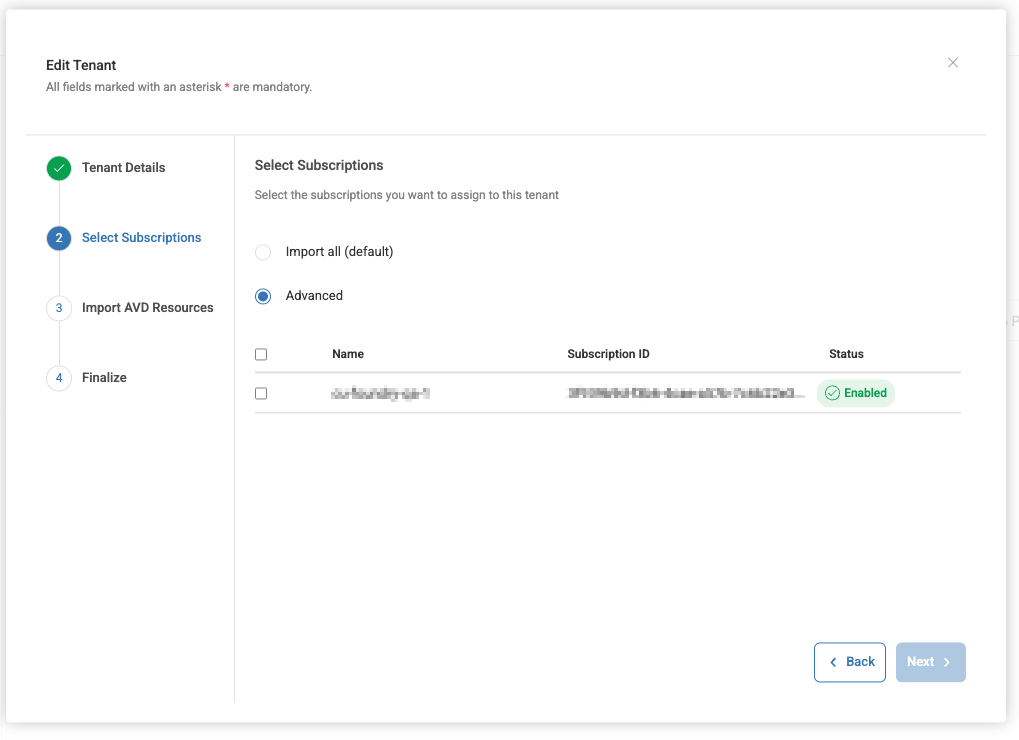
Select the checkboxes of the subscriptions you want to assign to the tenant.
Click Next. A summary of your selections displays.
Click Finish and Add Tenant to save and start syncing with DaaS IQ.

Note
During the initial sync, the status of the added Azure tenant will show as Unknown until the sync completes successfully.