This article explains how to prepare your environment and configure the necessary Azure permissions for ControlUp DaaS IQ. You must complete these prerequisites to enable ControlUp to manage your Azure Virtual Desktop (AVD) resources, including power management, session handling, and host scaling.
System Requirements
Microsoft Entra ID Role: Global Administrator or Cloud Application Administrator. Role required only during initial app registration, not required for ongoing operation.
Microsoft Azure Subscription: Must contain the AVD Host Pools and Session Hosts you need to manage.
Permissions: You need permission to assign roles at the Subscription or Resource Group level.
Step 1: Register App in Azure Portal
To register apps in Microsoft Azure Portal:
Open Azure Portal.
In the Search bar, enter “App registrations” and click App registrations.
Click + New registration.

On the Register an application page, provide a name for the app, for example: “DaaS IQ”.
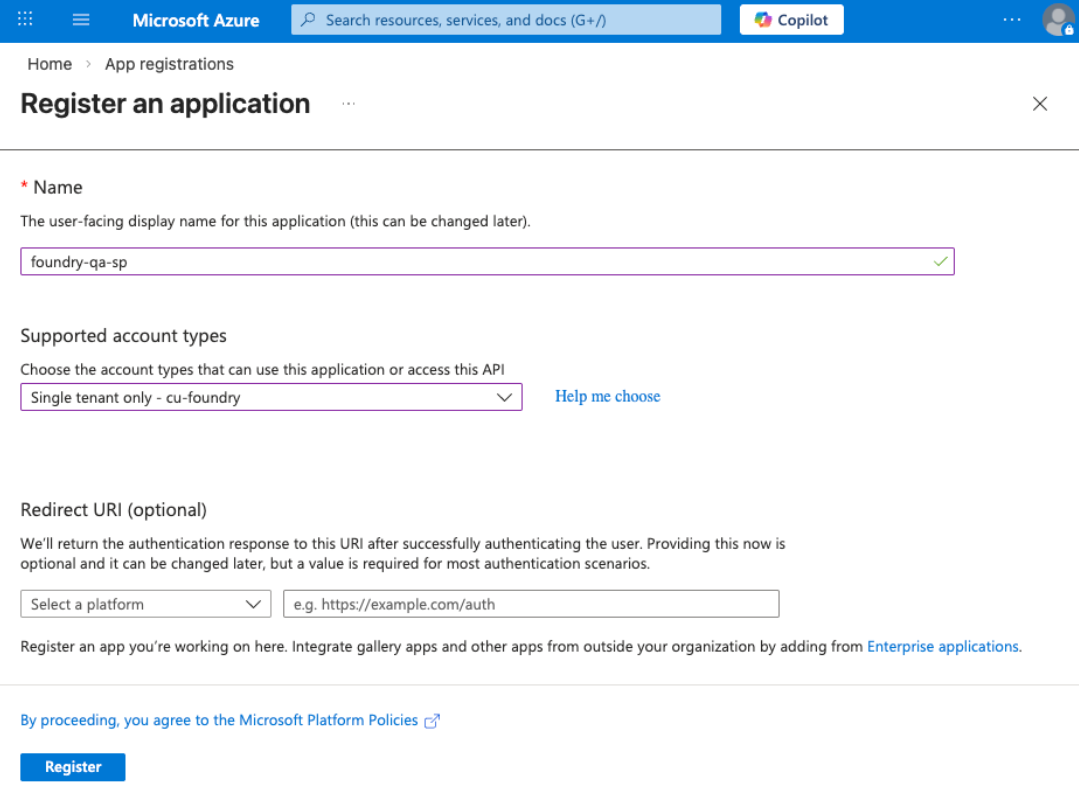
To limit the app to your organization's directory only, under Supported account types, select Single tenant only - [your organization name].
Click Register.
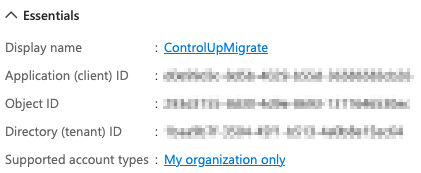
Important: Store the following values to use later during the DaaS IQ setup:
Application (client) ID
Directory (tenant) ID
In the app menu under Manage, go to Certificates & secrets and click New client secret.
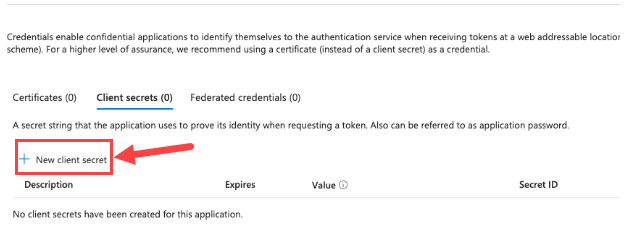
Provide a description (e.g., "DaaSIQKey") and set an expiration (e.g., 12 months)
Click Add.
Important!
Copy the secret value once it's created. You can’t retrieve it later.
You should now have the following values:
Application (client) ID
Directory (tenant) ID
Client Secret Value
Important!
Keep the client secret secure by storing it in a password vault or Azure Key Vault. Never share or email it in plain text.
Step 2: Grant Microsoft Graph API Permissions
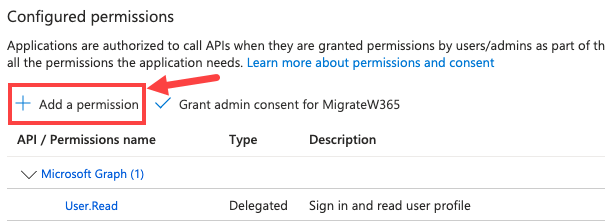
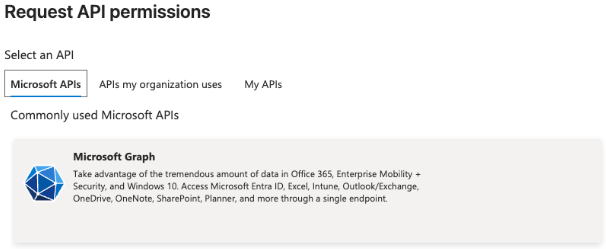
In App registrations, click API permissions > + Add a permission.
Click Microsoft Graph > Application permissions.
Add the permission User.Read.All. This allows DaaS IQ to read user account details for active session display and autoscaling logic.
Click Add permissions.
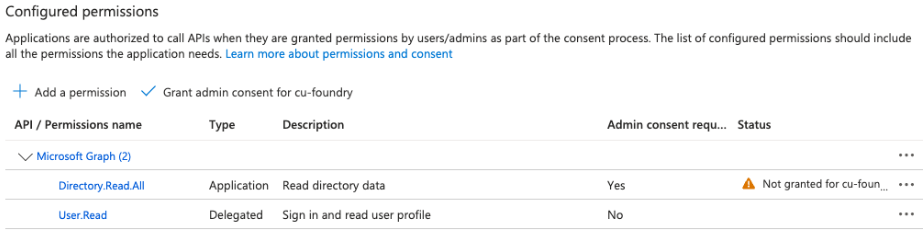
Confirm the permission is listed under Configured permissions as type Application.
Step 3: Grant Admin Consent
In Application permissions, click Grant admin consent for [Your Organization].
Click Yes.
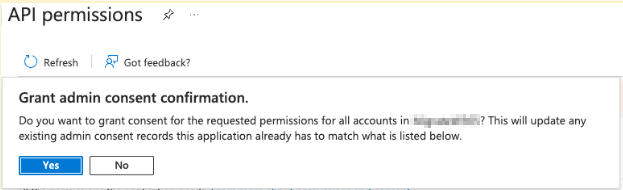
Status updates to ✅ Granted for [Tenant Name].
Step 4: Add IAM Permissions
ControlUp DaaS IQ requires permission to manage the underlying Virtual Machines (start, stop, delete, re-image) and related Azure resources across your AVD environment.
In the Azure Portal, search for and open Subscriptions.
Select the Subscription hosting your AVD resources.
From the left menu, select Access control (IAM).
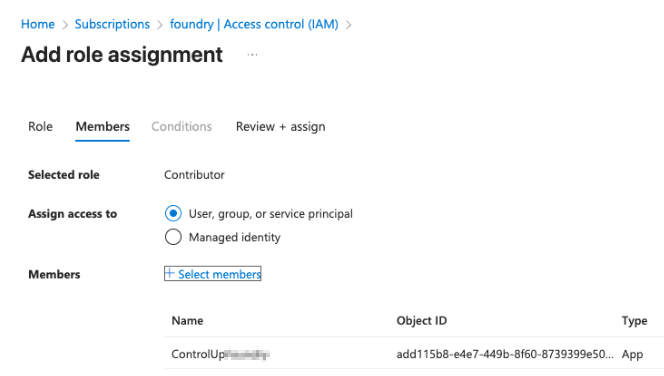
Click + Add > Add role assignment. Assign the appropriate role based on your security requirements:
Contributor. Select this role for a simple, comprehensive set of permissions.
Desktop Virtualization Roles. Select specific AVD roles to adhere to the principle of least privilege.
Under Members, click Select members and search for the App Registration name you created in Step 1.
Click Review + assign.
Step 5: Final Validation Checklist
Step | Validation |
|---|---|
Tenant ID | Azure Directory (Tenant) ID saved from the app registration Overview |
Client ID | Application (Client) ID saved from the app registration Overview |
Client Secret | Secret Value (not the Secret ID) saved immediately after creation |
Graph API | User.Read.All permission added and admin consent granted |
IAM Role | App has Contributor role (or equivalent AVD roles) on the Target Subscription |
3rd party applications
The Microsoft AVD images are provided for your benefit, but we don't take responsibility for the screenshots, content, and functionality of these 3rd party applications.