Use the IP Restrictions feature to create an IP allow list. If IP restrictions is enabled, a user can access data in your organization through the UI or API only if their public IP address is on the IP allow list. By default, IP restrictions is disabled.
To configure IP restrictions, you must have the Manage IP restrictions permission.
VPN connections should not be used because IP addresses might be assigned dynamically and not be included in the IP Allow List.
Create an IP allow list
-
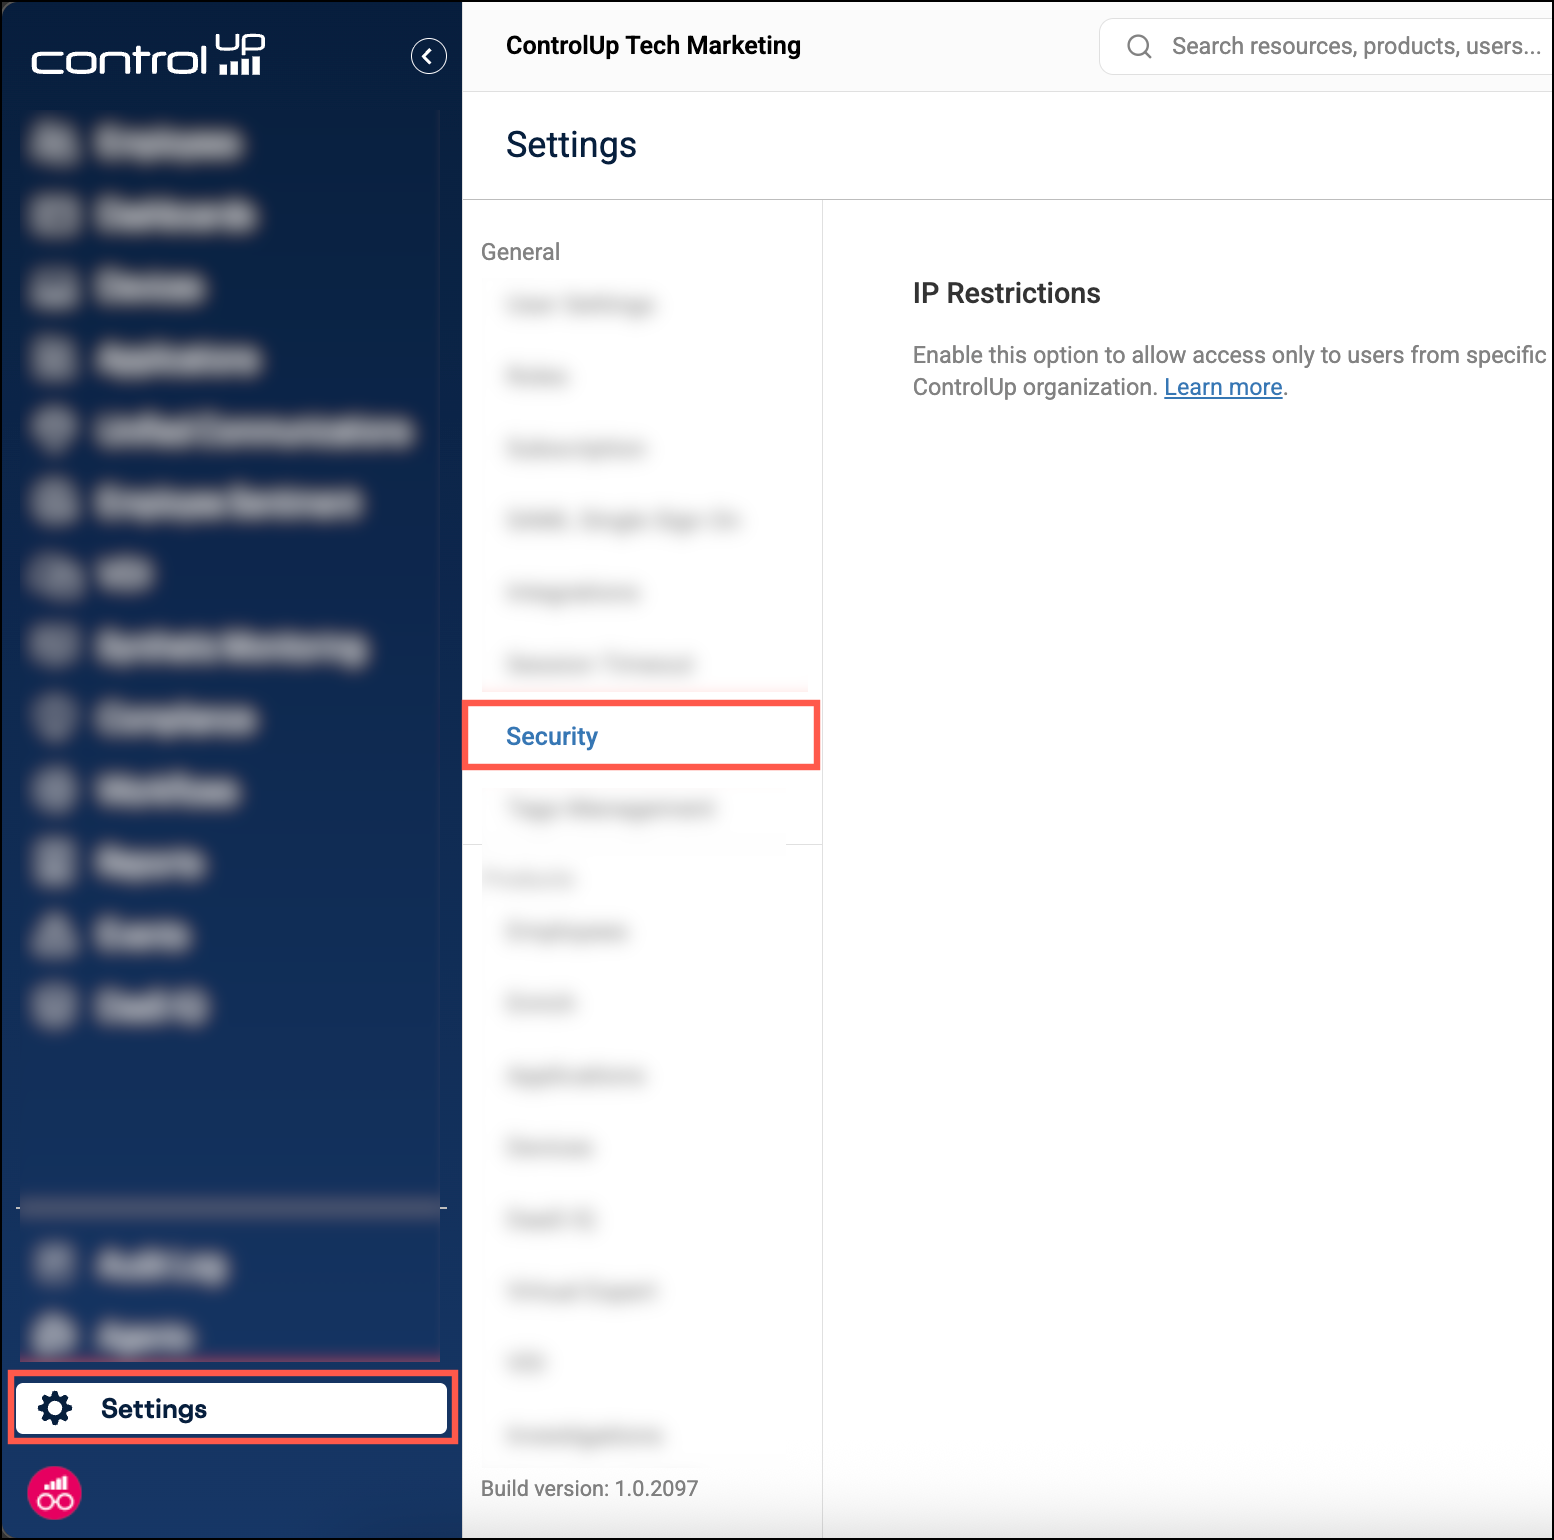
Go to Settings > Security.
-
Click the toggle to enable IP Restrictions. Your IP address is automatically added to the Allow List and can't be deleted. This ensures that the admin who enabled IP restrictions is always able to access your organization.
-
To add to the allow list, click Add IP/IP Range.
-
Enter one of the following:
- A single IP address.
- Multiple IP addresses in a comma-separated list.
- A range of IP addresses using subnetting with CIDR notation. For example, 127.10.0.1/25.
-
Click Add to list.
If you disable IP restrictions, your IP allow list configuration is saved and will be restored if you re-enable IP restrictions.