9.2.5: Events Pane Deprecation
From ControlUp for VDI version 9.2.5, the Events pane functionality is being deprecated from the Real-Time DX Console. You can now manage all recorded Windows Events directly from the new Windows Event Log in DEX, giving you a more powerful and flexible way to manage events across your organization.
The Events pane provides a real-time aggregation display of selected events from your managed machines.
Add an Event Log
By default, Application and System logs are displayed in the Events pane. You can only add event logs if they are listed in PowerShell. To view the log list, open an elevated PowerShell prompt and run the following command:
[System.Diagnostics.EventLog]::GetEventLogs()
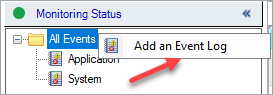
To add an event log:
Right-click the All Events folder and select Add an Event Log.
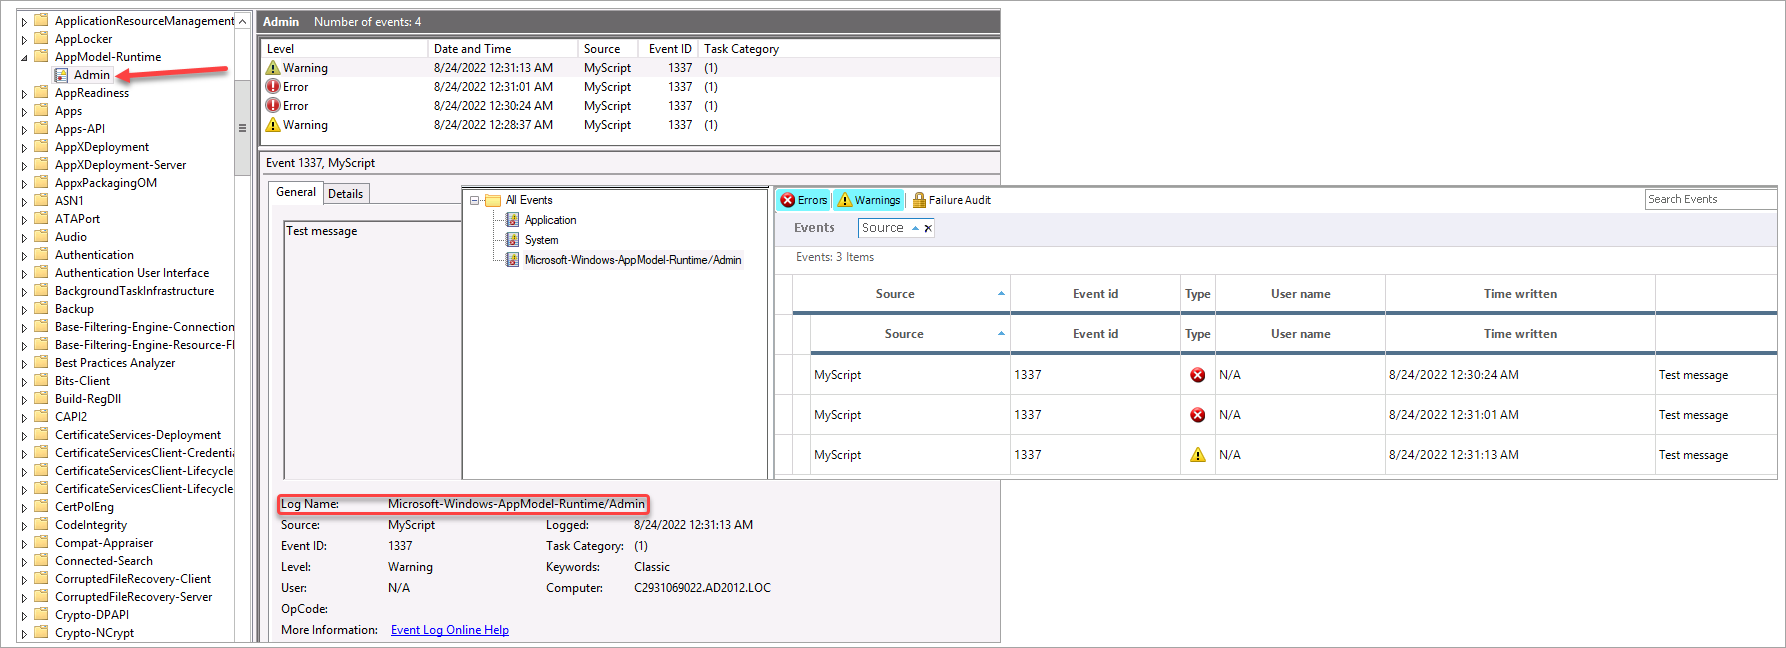
Provide the log name exactly as it appears in the Windows Event Viewer. In our example, we add the log name "Microsoft-Windows-AppModel-Runtime/Admin" that resides under the Applications and Services Logs.
Limitation
Only administrative logs are supported. Operational logs can't be displayed.
Supported Event Types
The following event types can be displayed in the Events pane:
Error events
Warning events
Failure Audit events
Retention Period
By default, events are preserved in the Events pane for a retention period of 60 minutes. To configure this value, click the Event button on the Settings ribbon. Under the Performance tab you can set the value as needed.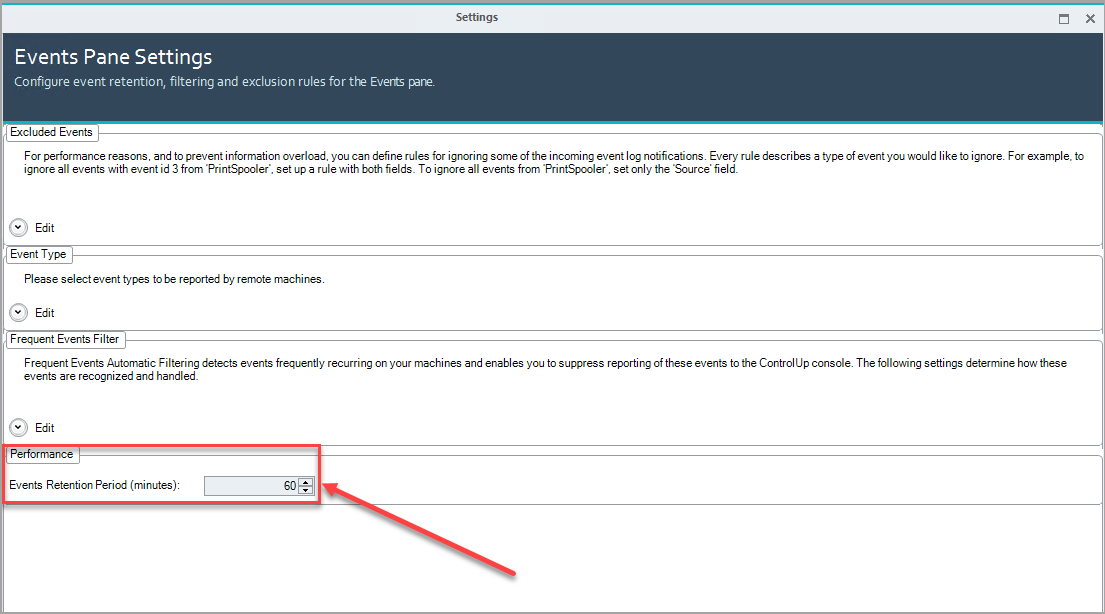
You can perform the following actions in Events Pane Settings.
Filtering Events
You can configure parameters according to which events will be displayed. To save your changes, click Apply. The following filtering methods are available:
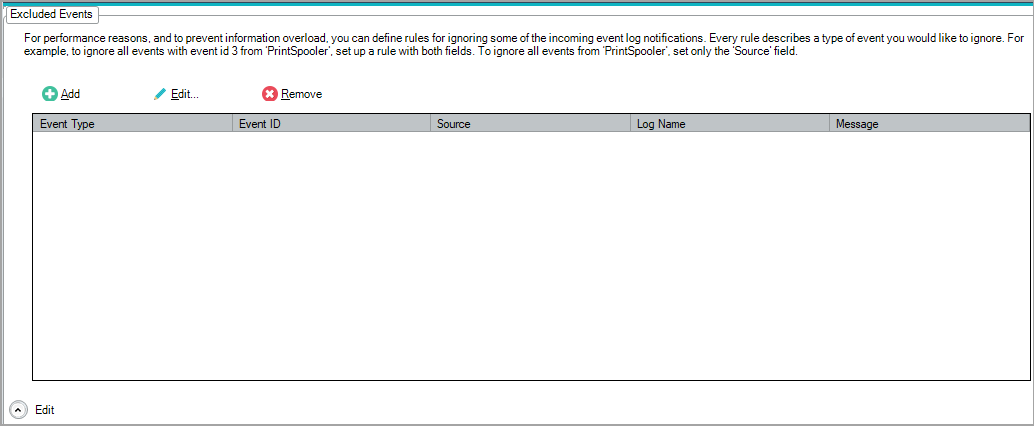
Excluded Events. To set a condition for the Real-Time DX Console to ignore an event, if matched, add an Event Log Filter Rule . For example, setting a rule which specifies Event ID "33" will drop all future events with the ID number 33 from the Console.
Event Type. You can choose to ignore errors, warnings, and/or audit failure events.

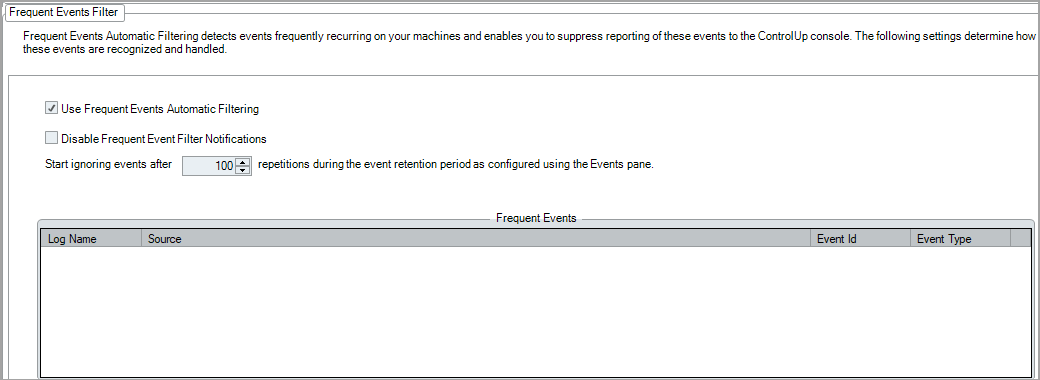
Frequent Events Filter. By default, ControlUp is configured to ignore events that appear repeatedly for a configured amount of times during the event retention period. The default value is 100, so an event that appears 100 times within an hour will fall under the Frequent Events Filter category and will no longer be reported. When an event reaches this threshold, a pop-up notification appears in the left bottom corner of the console. You can hide this notification by selecting the Disable Frequent Event Filter Notifications checkbox.
Note
If you turn off the default Frequent Events Filter, your ControlUp Real-Time DX Console might accumulate a large number of events that can dramatically increase the amount of RAM consumed by the Console. You can mitigate this condition by clearing events or by decreasing the Event Retention Period.
Performance. You can set the retention period in minutes for which the events remain displayed in the Events pane.
The above filtering mechanisms only affect future events. To remove events from the current console view, click the Clear or Clear All buttons in the Home ribbon of the Events pane.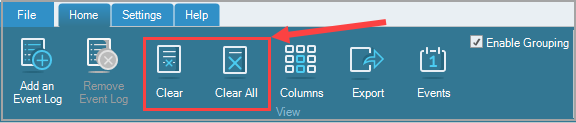
Event Actions
From the Events pane, right-click an event to view the available actions that you can perform on it:
Add to filter
The selected event details will be used to create a new filter rule to prevent similar events from appearing in the Events pane. Use the Event Log Filter Rule window to configure the rule before applying it.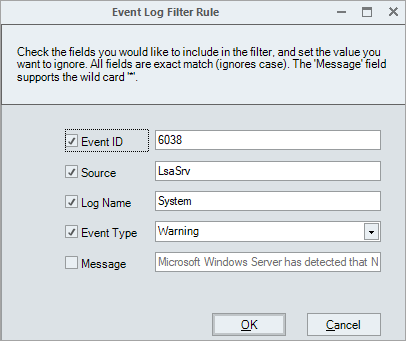
Remove from this view
The selected event(s) will be removed from the current view. This will not prevent similar events from appearing in the Events pane in the future.
Search In: (Google, EventID, Microsoft TechNet)
Right-click an event and select Search In to search for more event details in selected search engines. This feature is available only for ControlUp Hybrid Cloud environments with internet access on the console machine, not for ControlUp On-premises (COP). The event details are automatically populated in the wizard.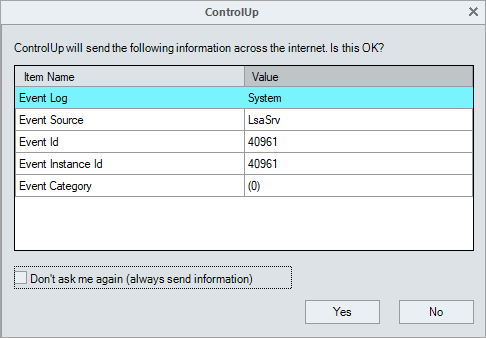
Click Yes to open your default browser and the search is completed.
Remote Desktop to machine
Use this action to switch to the Remote Desktop pane and establish a Remote Desktop connection to the machine from which the selected event originated.
Launch Event Viewer
This action opens the Event Viewer remotely to the machine of the selected event.
Note
This action requires both RPC access and administrative privileges on these machines(s). You might not be able to display the events on machines that do not meet these prerequisites.
Add Trigger
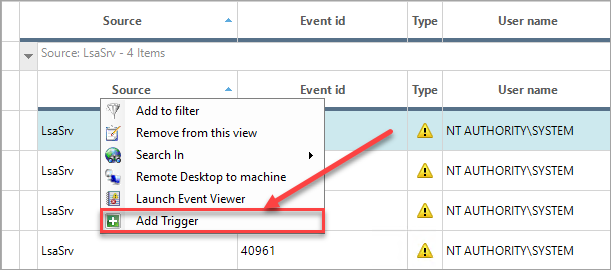
You can create a new trigger based on the selected event. This creates a Windows Event trigger.
Right-click the event and select Add Trigger. The Edit Trigger window appears
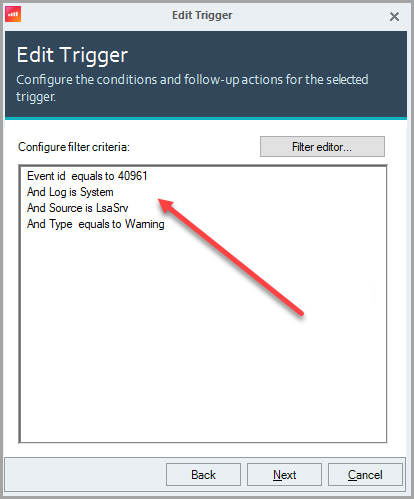
Optionally, in the Edit Trigger window, define a new trigger name. Click Next to see the trigger configuration.
ControlUp creates the filter criteria automatically. If you want to edit additional filter criteria, click Filter editor... or click Next to proceed with the trigger configuration.
Define the scope for which you want to apply the trigger and click Next.
Create follow-up actions you want to run if the trigger conditions are met. Click Finish to complete.
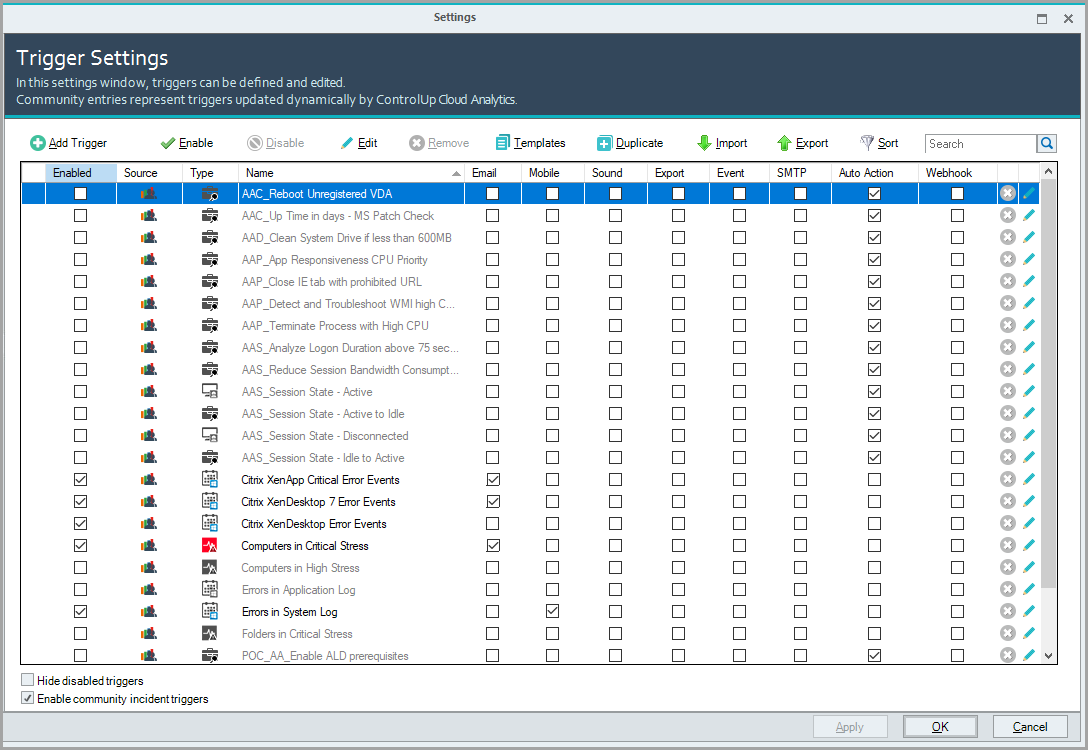
The new trigger is now displayed in the Trigger Settings list.