ControlUp DaaS IQ’s intelligent automation solution optimizes the performance and cost of your environments. By dynamically adjusting the number of running session hosts based on real-time demand, DaaS IQ ensures that your cloud infrastructure always scales up to meet peak user needs and scales down to eliminate wasted compute spend.
You can adjust the number of running session hosts in your Azure Virtual Desktop (AVD) host pools based on real-time demands in DaaS IQ. This ensures that your organization’s users always have sufficient capacity during peak times, while reducing Azure compute spend by shutting down unused hosts during off-hours. The following article explains how to configure the Scaling Policy for your organization’s AVD host pools.
Note the DaaS IQ automatically detects if a managed host pool has an Azure Scaling Plan assigned that might conflict with a DaaS IQ Autoscale Policy. If a conflict is detected, a warning appears directly on the host pool, helping you quickly catch and resolve misconfigurations before they impact pool behavior.
How It Works
Autoscale functions using Shared Policies and a Scheduler.
Shared Policies: A reusable Autoscale Policy defines when to scale and by how much. A single policy can be assigned to multiple host pools simultaneously. Note that changes to a shared policy take effect immediately across all linked host pools.
Scheduler: A visual 24/7 calendar interface where you "paint" 1-hour blocks to assign specific policies to specific times. Note that changes to a Scheduler take effect immediately.
Create Autoscale Policy Profile
Configure an autoscale policy profile through the following steps:
Automatic Tags
DaaS IQ validates Azure tags on host pools and session hosts before performing autoscale. Automatic tags guarantee clear ownership, safe automation, and seamless integration with Azure native controls. They prevent conflicts, enable precise management, and avoid duplicating existing Azure data, ensuring a secure, manageable, and future-proof environment.
Before you create, update, or execute a scaling policy, DaaS IQ validates:
Host pool ownership tags
Session host VM ownership tags
If ownership is found to belong to a different DaaS IQ tenant, both the autoscale configuration and execution will be blocked.
Step 1: Strategy
Define the operational mode and the capacity boundaries that best fit your host pool's needs:
Mode | Behavior |
|---|---|
Static (default) | Bypasses metric evaluation to maintain a fixed, specific number of hosts on at all times. Ideal for maintenance windows, providing skeleton capacity overnight, or pools where a predictable, unchanging headcount is required. |
Elastic (dynamic) | Automatically powers hosts on/off or creates/deletes them dynamically based on real-time load metrics, including CPU, memory, and free sessions. Ideal for environments where user demand fluctuates throughout the day. |
Tip
Most policies use Elastic during business hours and Static for off-hours with a low count (e.g., 1 or 0).
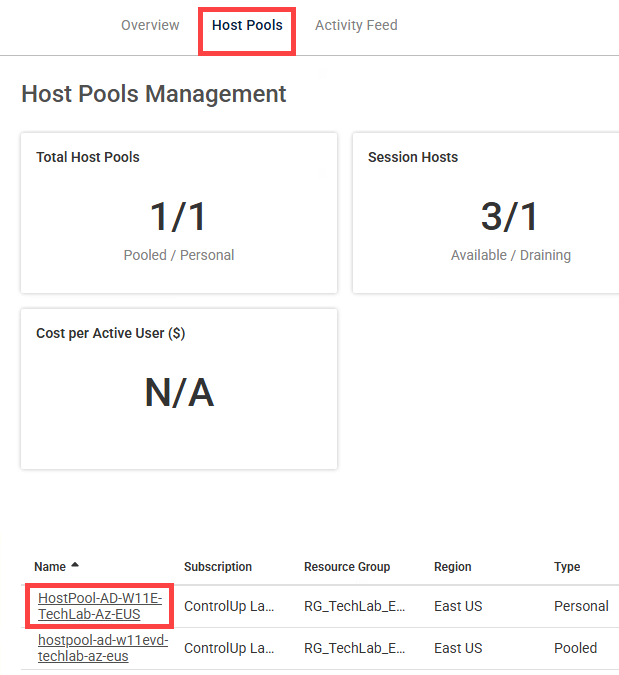
From the DaaS IQ Overview page, click the Host Pools tab.
Click the name of the host pool you want to configure the policy for.
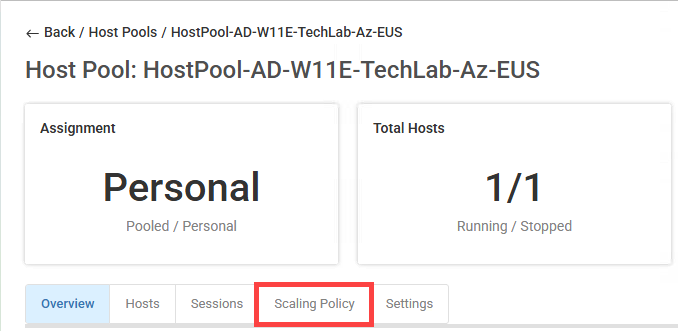
Click the Scaling Policy tab.
Click Create New Profile. The Create New Scaling Profile popup opens.
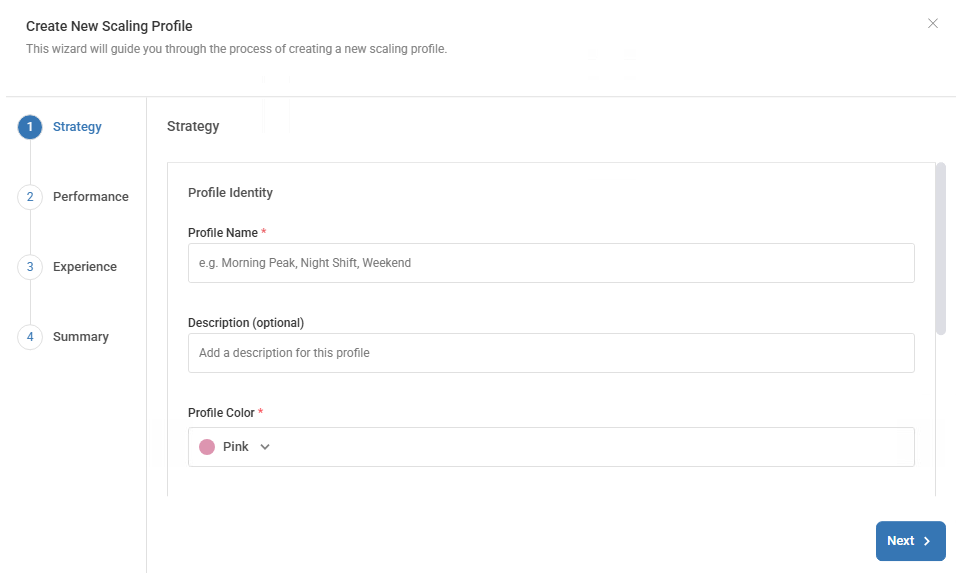
In the Profile Name field, enter a name for the profile.
Optionally, in the Description field, enter a description.
From the Profile Color dropdown, select a color.
Under the Provisioning & Limits area, select the operational mode:
Static (default):
From the Number of Hosts to Power On switch, select the number of hosts.
Elastic (dynamic):
From the Min Hosts (Floor) switch, select the minimum number of hosts.
From the Max Hosts (Ceiling) switch, select the maximum number of hosts.
From the Burst Batch Size switch, select the number of hosts to power on per scaling instance.
Under the Elastic Scaling Mode area, select how to deal with changing host demands.
Optionally, to save costs, click the Smart Minimums (Cost Assurance) toggle.
From the Utilization Threshold (%) switch, select the percentage of utilization.
From the Time Window (minutes) switch, select the number of minutes.
From the Scale Down to Host Count switch, select the number of hosts to scale down.
Click Next.
Step 2: Performance (Elastic mode only)
Define the logic for adding or removing host capacity based on CPU Threshold, Memory Threshold, and Free Sessions:
Scale Out Triggers: Uses OR logic. If any single scale out condition is exceeded, autoscale adds one batch of hosts.
Scale In Triggers: Uses AND logic. All scale in conditions must be met before batches of hosts are removed to ensure user performance isn’t compromised.
Optionally, under the Scale Out Triggers area > CPU Threshold (%), select the pool average of CPU utilization threshold to exceed (e.g., 70%).
Optionally, under Memory Threshold (%), select the pool average of memory utilization threshold to exceed (e.g., 80%).
Under Minimum Free Sessions, select the number of available session slots. If the available slots drop below your set buffer limit (e.g., 5), autoscale adds more host capacity.
Optionally, under the Scale In Triggers area > CPU Threshold (%), select the pool average of CPU utilization threshold to drop below (e.g., 30%).
Optionally, under Memory Threshold (%), select the pool average of memory utilization threshold to drop below (e.g., 40%).
Under Scale-In Free Sessions Buffer, select the number of available session slots. If the available slots exceed your set buffer limit (e.g., 10), autoscale removes host capacity.
Important For Single-Session Pools!
For host pools with a maximum session limit of 1, autoscale ignores CPU and Memory thresholds. Scaling is driven exclusively by the Free Sessions buffer.
Under the Behavior Settings area, set the Stabilization Window (min) to define a cooldown period (e.g., 10–15 minutes) following any scale action. This prevents autoscale from immediately reacting to the load changes it just triggered, ensuring the system has adequate time to stabilize before the next evaluation.
Click Next.
Step 3: Experience
When scaling in, DaaS IQ uses Drain Mode to protect active sessions.
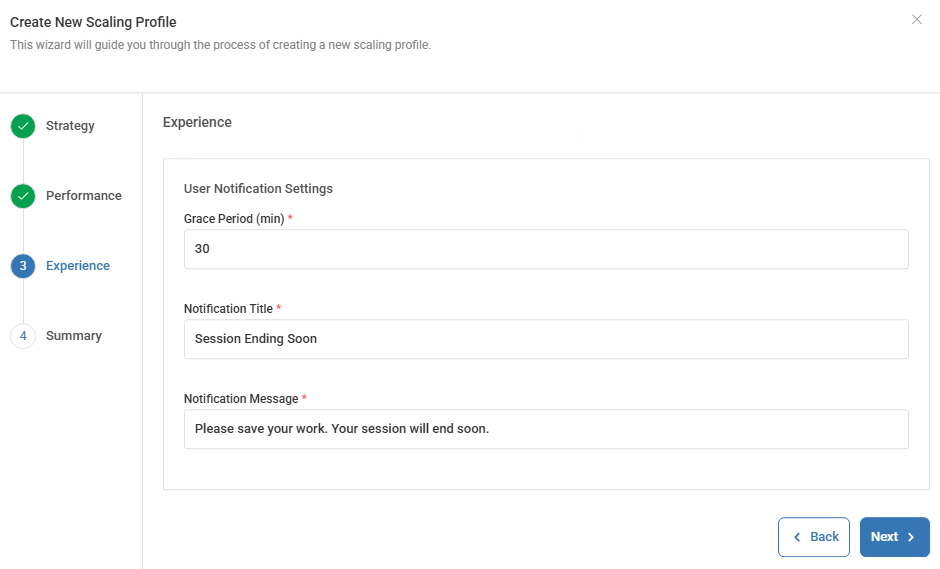
Under the User Notification Settings area > Grace Period (min), select the number of minutes allowed for users to save work and log off voluntarily. Once the period ends, remaining users are forcefully logged off and the VM shuts down.
In the Notification Title field, enter the title of the notification to display to users.
In the Notification Message field, enter the text of the notification to display to users.
Click Next.
Step 4: Summary
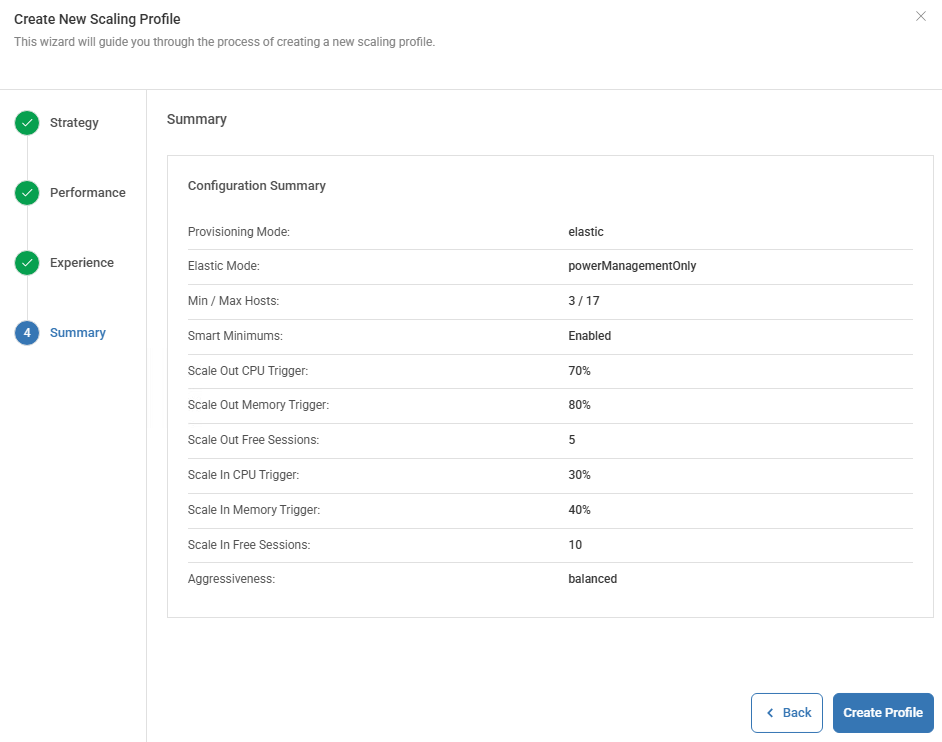
Review the Configuration Summary to verify that you defined all the settings for the autoscale policy profile as needed.
Click Create Profile. The new autoscale policy profile you created now appears as an option above the Weekly Schedule.
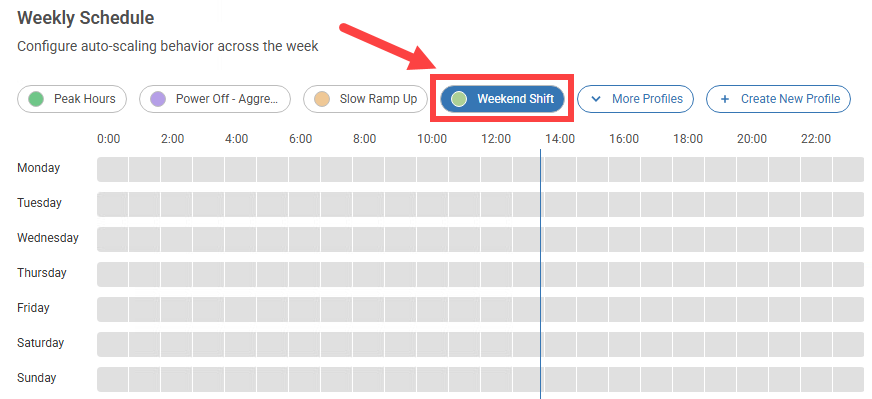
To apply your new profile, assign it to the schedule by clicking on time slots as needed.
Optionally, to ensure VMs remain available during anticipated high-demand periods, you can define specific time windows where scale-in operations are blocked.
On the right side of the time slots, under Scale-In Restriction click Edit > Enable scale-in restriction, and set the times and days to block scale-in for the profile as needed.

Click Save Changes.
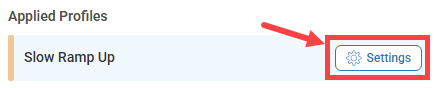
To edit an applied profile, under Applied Profiles, click Settings to open the Edit Profile popup, edit the settings as needed, and click Save.
Hide Autoscale Profiles
To prevent autoscale misconfigurations, you can hide dynamic scaling profiles on personal host pools.
Filter your More Profiles list by selecting the Hide unsupported checkbox:
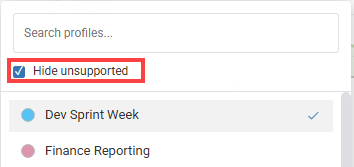
You can also select or deselect multiple profiles to quickly clear your active selections.