This feature is in beta. Contact your ControlUp representative for more information.
This article walks you through the initial setup of Agent ONE:
- Installing Agent ONE on your devices
- Deploying ControlUp products
If you are deploying Agent ONE onto a device that already has ControlUp Agents installed, read Migrating to Agent ONE to understand the migration process.
What is Agent ONE?
Agent ONE is the new way to deploy ControlUp products and features onto your devices. Instead of using multiple standalone Agents, you now only have to install a single component onto your devices.
You can then then use the Agent ONE management console to configure which Modules (or ControlUp products) to deploy on top of Agent ONE.
Prerequisites
Permissions
The following permissions are located under the Agents category in the permission tree. These are all included in the default Admin user role.
- View Agents - Lets you view the Agent ONE Overview dashboard.
- Deployment Administrator - Lets you create, delete, disable, enable, and change the priority level of deployments.
- Deployment Viewer - Lets you view your list of deployments.
- Policy Administrator - Not currently used
- Policy Viewer - Not currently used
- Scope Administrator - Not currently used
- Scope Viewer - Not currently used
Supported operating systems
- Windows 10 Version 1607+ (x64)
- Windows 11 (x64)
- Windows Server 2016 (x64) or higher
Networking
Agent ONE requires access to *.cu-agents-cpz-*.controlup.com.
Step 1 — Install Agent ONE
Currently, when you install Agent ONE, all existing ControlUp Agents are uninstalled even if they are not replaced through Agent ONE. This means that when you install Agent ONE and your device receives the default deployment (which does not contain any products), your device will lose connection to your tenant until you re-deploy ControlUp modules through Agent ONE.
To address this and minimize device downtime, before you install Agent ONE you can preconfigure a deployment that includes your selected modules and give it a higher priority, or you can edit the default deployment to include those modules.
Agent ONE must be installed on every device where you want to deploy any ControlUp product. To install Agent ONE, you must use the installation commands/scripts generated from within the ControlUp UI because they contain a secret installation key unique to your tenant. The installation key also contains any optional installation settings you define.
-
In ControlUp, go to Agents > Deployment > Get Agent ONE.
.png)
-
Download the installer for your operating system.
-
Optionally, expand Optional settings and configure any of the following:
- Device Group - Assign the device to a ControlUp for Desktops device group at install time. This is useful for organizing devices before they check in for the first time. For example, you can create a scope that targets a specific group, and any device installed with that group assignment will automatically fall into the right scope after install.
- Platform Tags - Adds the selected tags to devices at install time. Note that these are centralized platform tags, not ControlUp for Desktops tags.
- Gold image mode - Enable this if you are installing Agent ONE onto a golden image. Agent ONE detects each machine cloned from the image and registers it as a new device automatically.
- Override default registration - Agent ONE automatically detects and picks the most appropriate registration method. However, if you need to force a specific registration method, you can enable this option and pick a method. You should use this option only under the guidance of ControlUp Support.
- Proxy - Enable this to route outbound communications through a proxy. Choose System proxy to use the system-level
HTTPS_PROXYenvironment variable, or choose Custom proxy to specify a proxy URL directly.
-
Choose an expiry duration for the
INSTALL_KEY. This controls how long the generated command can be used to install Agent ONE on new devices. Existing devices are not affected when the key expires. If you need to install Agent ONE on additional devices after the key has expired, generate a new command at that point. -
Click Generate key.
-
Deploy Agent ONE using one of the installation options, you can either:
- Download the provided PowerShell script.
- Manually run the Agent ONE GUI and paste the installation key when prompted.
- Run the provided msiexec command.
If you change any of your installation options or expiry duration, you must regenerate your key.
Step 2 - Deploy ControlUp Modules
After you've installed Agent ONE, it's time for you to decide which Modules (ControlUp products) you want to deploy. You do this by creating Deployments. A deployment is a list of modules, and a set of device conditions that determines which devices receive those modules.
A Default deployment already exists in your organization, which targets all devices, but does not install any modules. If you want every device with Agent ONE in your organization to receive the same modules, you can edit the default deployment.
If you want unique deployments for different sets of devices, you can create your own deployments.
To create a deployment policy, go to Agents > Deployments > Create deployment.
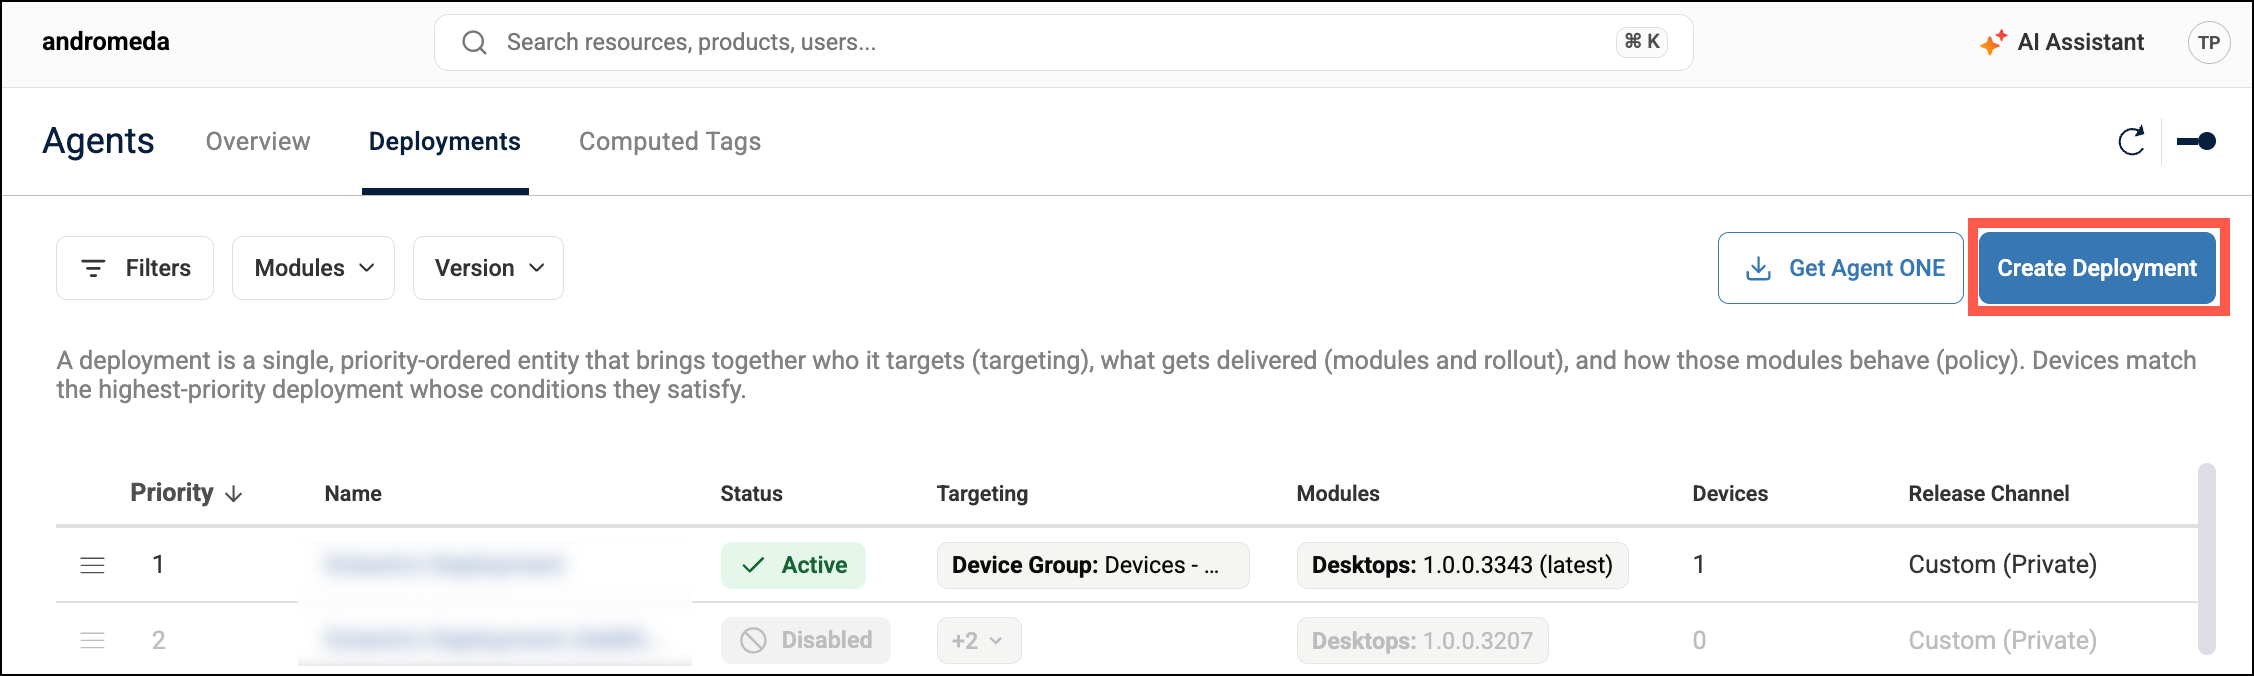
For more details about how to create deployments, see Configure a Deployment.