This article covers how to install the Remote Clients (formerly Remote DX) plugin on Unicon eLux devices.
For an overview of the Remote Client device metrics you can monitor, see here.
eLux Revision 7
eLux Revision 7 environments are managed entirely through the web-based ELIAS 18 (package/image management) and Scout Board (device management). There’s no MMC-style Scout Console on Revision 7. If you're on an older eLux/Scout revision still using the desktop Scout Console, see the legacy installation steps below.
Prerequisites
See the Remote Client Support Matrix eLux version compatibility information.
Install Remote Clients
Part 1: Import plugin and build image (ELIAS 18)
Download the Remote Clients plugin zip for eLux from our Download Center.
Open ELIAS 18 and select the container used by your eLux 7 devices (e.g. elux7_2511) from the Container Library.
In the Package Library, from the bottom left of the package list, click Import.
Select the plugin zip and click Open. Don’t unzip it, ELIAS extracts and validates it automatically. Wait for the Import result confirmation.

The new package version (e.g. “remotedxct 2.4.2607-35, ControlUp Remote DX Plugin for Citrix”) now appears in the Package Library.
Open (or create) the Image used by your devices, drag/add the new plugin package into it if it isn't already included, then publish it (Save As/Sign, depending on whether you're updating an existing image or creating a new one).

Part 2: Point your devices/OU at new image (Scout Board)
In Scout Board, go to Devices > OU structure and open the actions menu ⋮ on the relevant OU, or on an individual device. If your environment assigns images per-device rather than per-OU, select Device configuration.

Go to the Firmware tab. This shows the server, path, and Image file the device currently pulls its firmware from.
Click Edit, set Image file to the image you published in step 6 (e.g. elux7_2511_rdx2607-35.idf), then click Apply settings.

Note that how image assignment is scoped (per-OU vs. per-device) depends on how your organization structures Scout Board. Check your own OU tree/device settings.
Part 3: Deliver the update
From the device/OU list, open the actions menu ⋮ and select Execute action.
Set Action to Deliver software, and set Type to Now (or schedule it for later). Optionally, check Inform users and/or Send command only to devices with 'Switched on' status
Click Perform.

The device downloads and applies the new image, which now includes the updated Remote Clients plugin.
Remote Clients Legacy Installation
Download the plugin from our Download Center.
In Scout endpoint management, go to Container > import package and select the Remote DX plugin.
Click the arrow to move the package from Available packages to Defined packages.
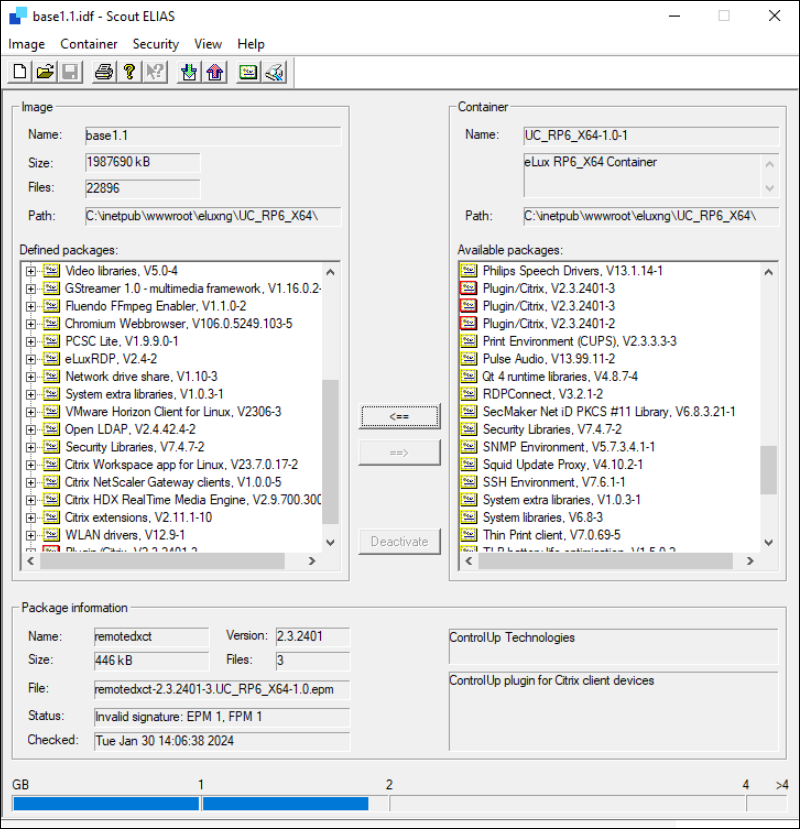
Click import and select Save.
In the Scout console, right-click on a device and select Commands > Update to install Remote Clients on the device.