This article describes how to enable SAML SSO authentication for ControlUp's DEX platform (app.controlup.com).
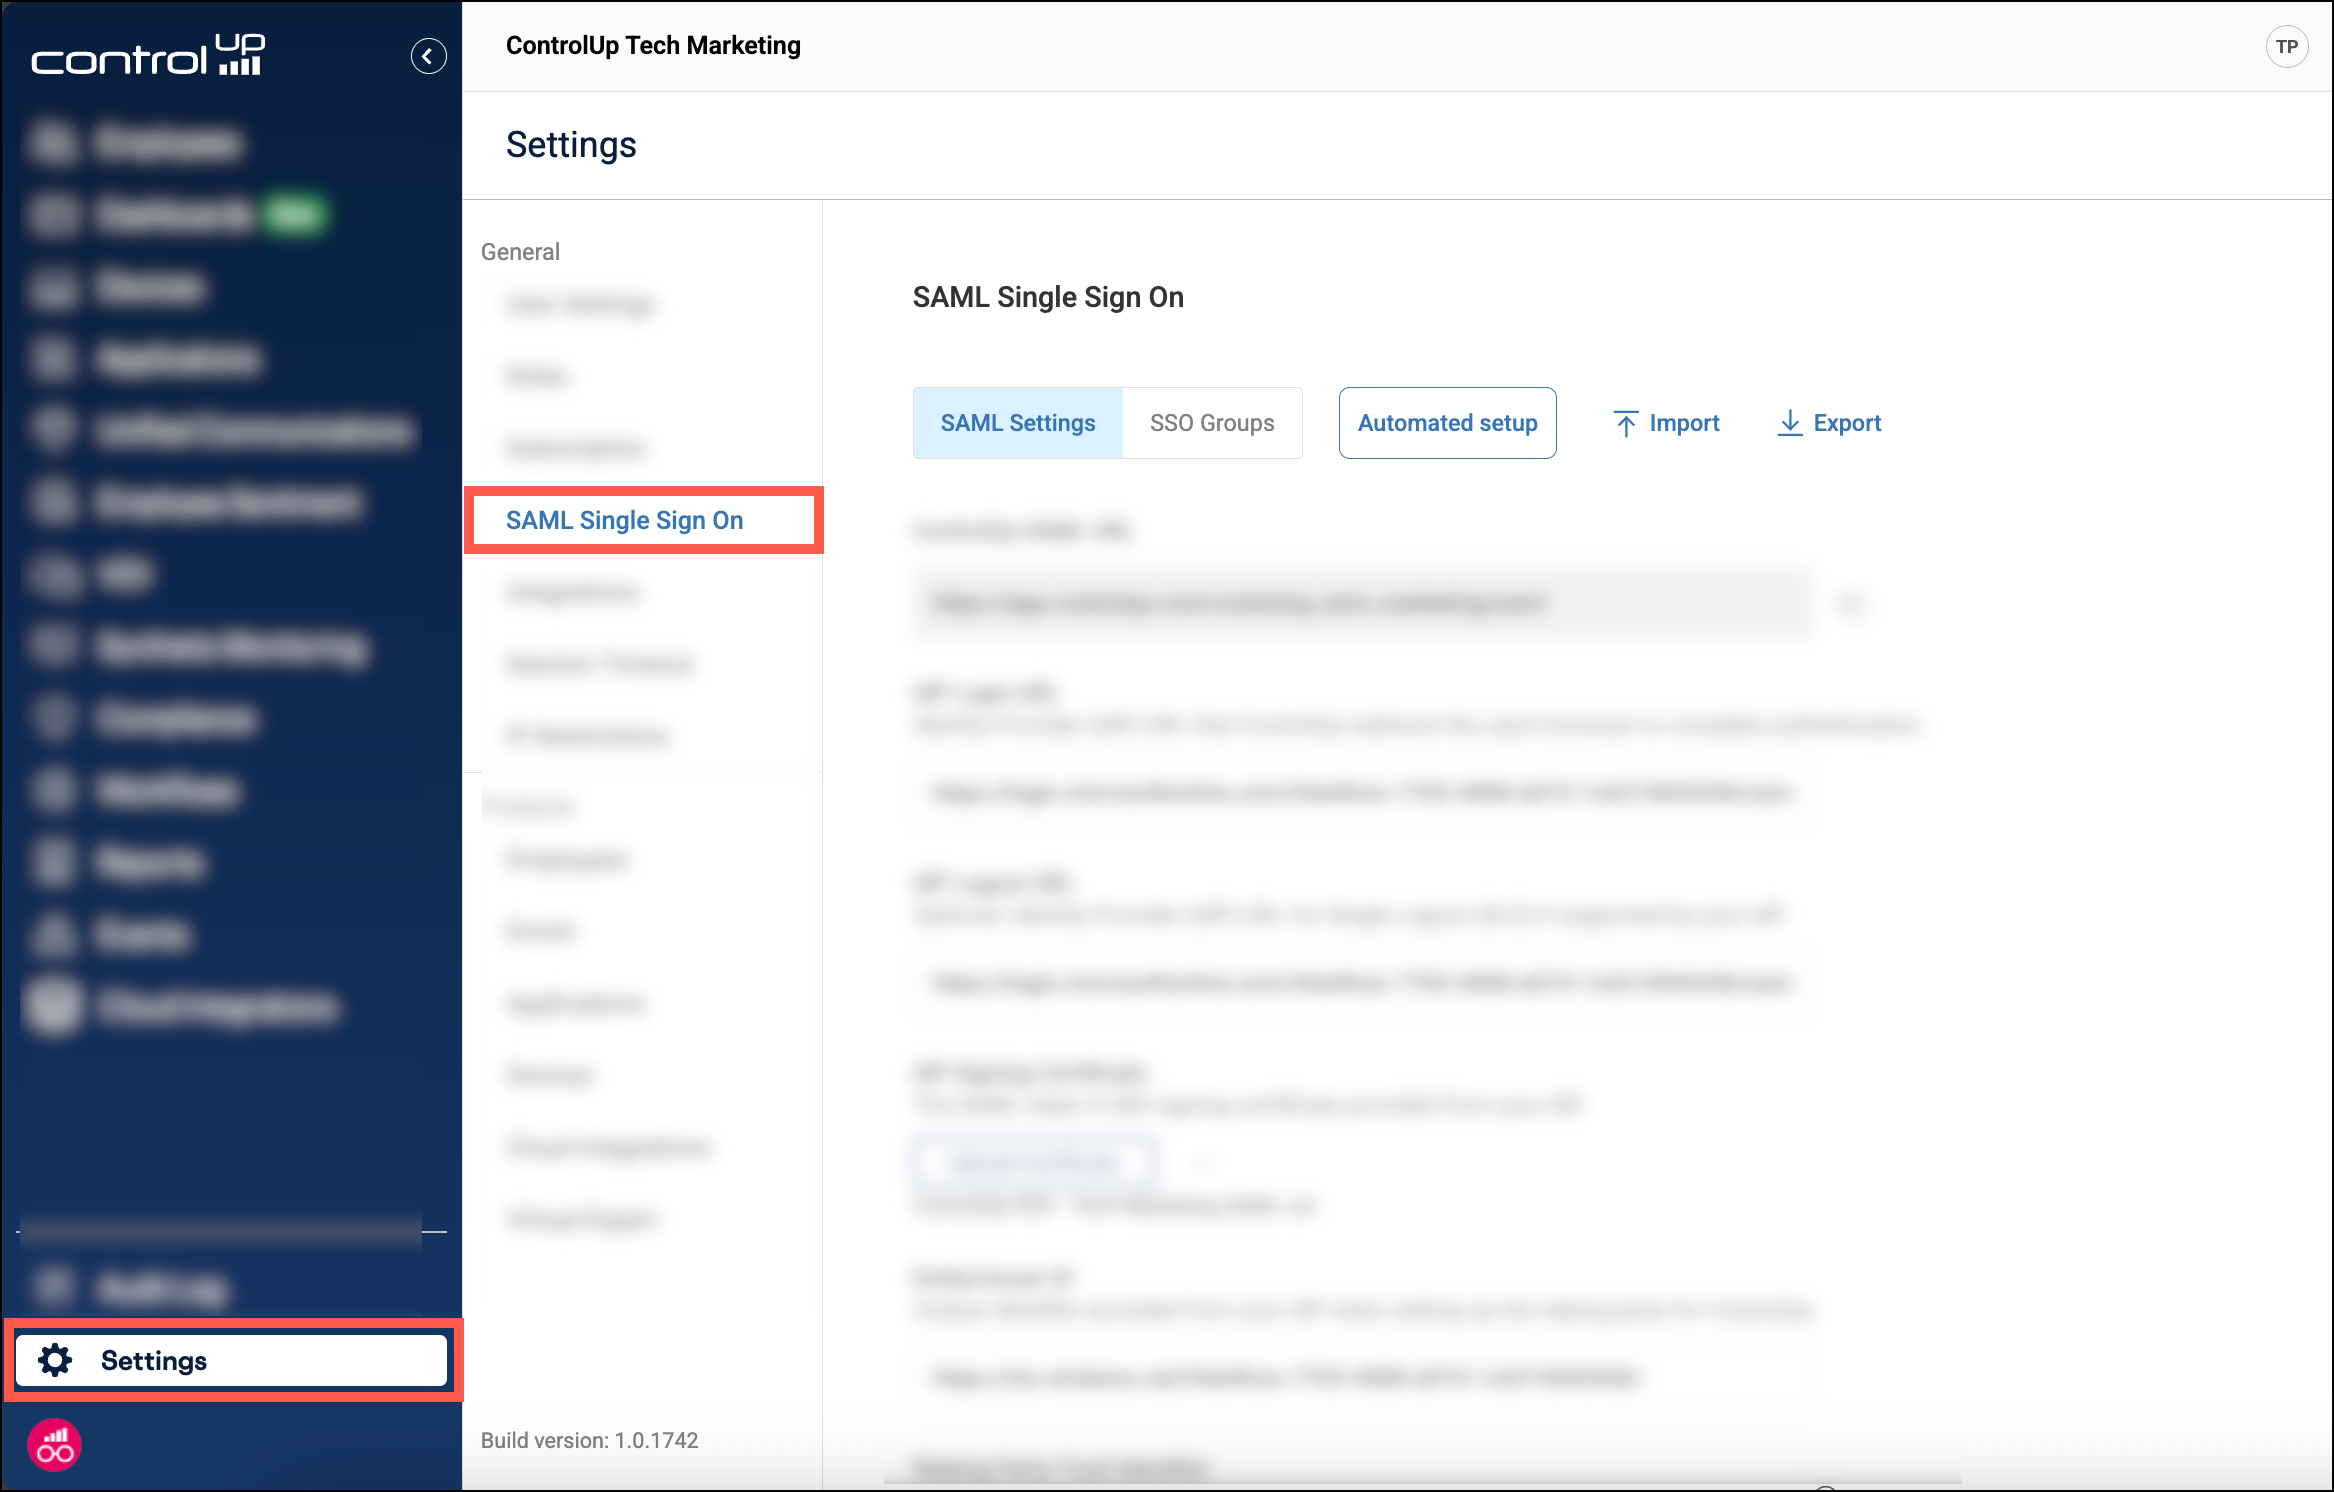
To access SAML settings, go to Settings > SAML Single Sign On.
Key features
Automatic user account provisioning - When a new user signs in with SAML for the first time, their ControlUp account is automatically created and assigned the Default Role configured in your ControlUp SAML settings page. If you don't want to allow users to sign in and automatically create ControlUp accounts, you can restrict access to ControlUp in your IdP settings.
Assign user roles based on IdP group membership - Click here for details on how this works and how to set it up.
Support for multiple ControlUp organizations - You can use SSO for multiple ControlUp organizations using the same IdP tenant by setting a unique identifier for each organization. To do this, add a unique string to the end of the Relying Party Trust Identifier field in the DEX SAML settings page for each organization.
SP-initiated or IdP-initiated SSO - Read Sign in with SAML below for details.
Note: ControlUp SLO doesn’t support certification exchange.
How to Sign in with SAML
Make sure SAML is allowed as a login method
You must enable SAML SSO as an allowed login method in your ControlUp organization. Learn how to allow login methods.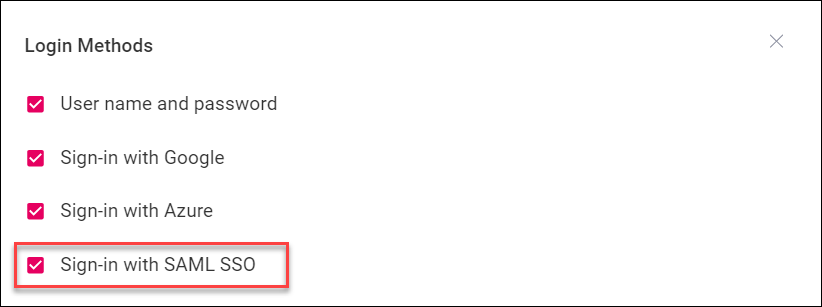
After you have configured SAML using the steps below, you can sign in to your organization using SAML by either:
Direct SAML URL (https://app.controlup.com/<yourOrgName>/saml)
Clicking the With SAML login method on your organization login page.
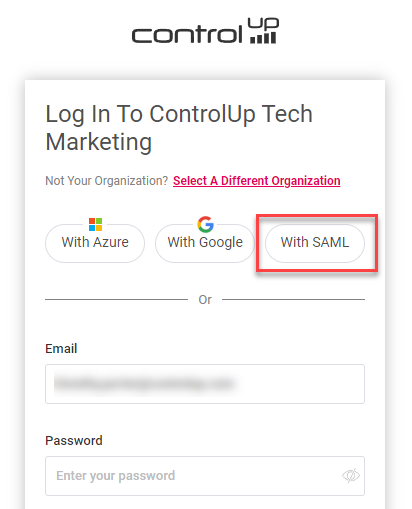
IdP-initiated SSO. You can sign in to your Identity Provider's page and then select the ControlUp application to sign into ControlUp with SSO. Note that to use IdP-initiated SSO, you must add the attribute
orgurlto your SAML assertion. Read Configure User Attributes in Your IdP for more details.
Automatically set up SAML SSO
If you have set up an Entra ID integration for ControlUp authentication and authorization, you can click Automated setup to automatically set up SAML SSO with Entra ID. The automated setup creates a new application in Entra ID named 'ControlUp-SAML-<your organization name>' and configures the required user attributes. If you want to use optional features such as LDAP VDI authentication or IdP-initiated SSO, you'll have to manually add the extra attributes described in the manual steps below. The automated setup does not assign users or groups to the Entra ID application, so you must manually add your ControlUp users or groups to the Entra ID application after you perform the automated setup.
To use this feature, you must first add an Entra ID integration. You must grant the integration the permissions Application.ReadWrite.All and Policy.ReadWrite.ApplicationConfiguration to perform the automated SAML setup.
Manually configure SAML SSO with your IdP
This section describes how to manually set up SAML SSO with any IdP. If your IdP is listed below, you can read the article specific to your IdP. Please refer to your IdP's documentation for more details:
Tip: Import and export metadata files to make your SAML configuration easier
If your IdP supports it, you can import and export XML metadata files between ControlUp and your IdP. If you do this, you can skip steps 1 and 2 below.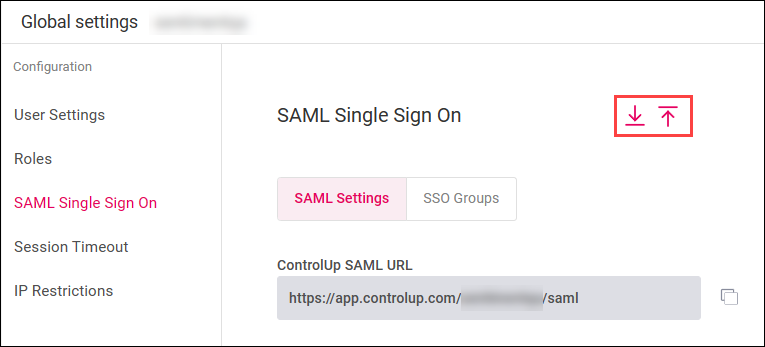
Step 1 - Configure settings in ControlUp
This table lists fields that you need to fill out in the ControlUp SAML settings page.
Field in ControlUp SAML settings | Required | Notes |
|---|---|---|
IdP Login URL | Yes | Copy the login URL from your IdP and paste it here.
|
IdP Logout URL | No | if you want to use single log out (SLO), copy the logout URL from your IdP and paste it here. SLO is not supported on all IdPs.
|
IdP Signing Certificate | Yes | Download the X.509 signing certificate from your IdP and upload it here. |
Entity/Issuer ID | Yes | Copy the entity/issuer ID from your IdP and paste it here.
|
Default Role | Yes | Set the default role assigned to ControlUp accounts automatically provisioned when a new user signs in with SAML. You can select from the default roles or a custom role. |
Step 2 - Configure settings in your IdP
This table lists the fields that are already filled out in your ControlUp SAML settings page. You need to take the information from these fields and add it in your IdP.
Field in ControlUp SAML settings | Required | Notes |
|---|---|---|
Relying Party Trust Identifier | Yes | Copy this value from ControlUp SAML settings and paste it into your IdP.
If you want to sign in with SAML to multiple ControlUp organizations using the same IdP tenant, edit this value to make it unique for each organization. |
Endpoint Assertion/Login URL | Yes | Copy this value from ControlUp SAML settings and paste it into your IdP.
|
Assertion Logout URL | No | If you want to use single logout (SLO), copy this value from ControlUp SAML settings and paste it into your IdP. |
Signing Certificate | If it is required by your IdP | If your IdP requires it, download the X.509 certificate from ControlUp and upload it to your IdP. |
Step 3 - Configure User Attributes in Your IdP
Do you use a Real-Time DX version lower than 9.0?
The attribute table below is updated for version 9.0. If you use an lower version, click here to see the attributes.
NameID
A NameID is not required. However, if a NameID is included in the SAML assertion, then it overrides the UPN attribute from the attribute statement. If your IdP requires you to send a NameID, you must configure it to send the user's UPN.
Configure your IdP to send the following attributes:
Attribute Name | Required | Notes |
|---|---|---|
| Yes | The user's email address. Used to identify the user's ControlUp account. |
| Yes | The user's first name. |
| Yes | The user's last name. |
| No | The user's UPN. Required only if you use LDAP to authorize to the VDI App. To learn more, see here. |
| No | The user's sAMAccountName. Required only if you use LDAP to authorize to the VDI App. |
| No | The user's distinguished name. Required only if you use LDAP to authorize to the VDI App. |
| No | The name of your ControlUp organization. This is required only to use IdP-initiated SSO. For example, if you access your ControlUp from app.controlup.com/acmeorg, configure this attribute to send "acmeorg". |
| No | The names or IDs of IdP user groups. Used for assigning roles to ControlUp users based on IdP groups. |
| No | The ID of the user's ControlUp account (in the format something@example.xyz). |
Troubleshooting
You might get an error when you try to access your VDI & DaaS environment saying "Your account <accountName> doesn't have permission to access the VDI & DaaS web console. Ask your ControlUp Admin to give you permission to Use Web Application." If you have confirmed that your account has the permission and you are still getting the error, reboot your ControlUp Monitors and try again.